Danish Rye Bread (Rugbrød)
Rugbrød is to Denmark what the baguette is to France: a cornerstone of daily life and culinary identity, a wholesome, yeast‑free rye loaf enriched with natural probiotics that is satisfyingly filling and pleasantly springy in texture, offering a deep, tangy complexity that matures over time. Baking it is a patient, deliberate affair—often a two‑day process if you already keep an active sourdough starter—requiring long soaks, careful fermentation and a gentle oven that nurtures rather than rushes the crumb.
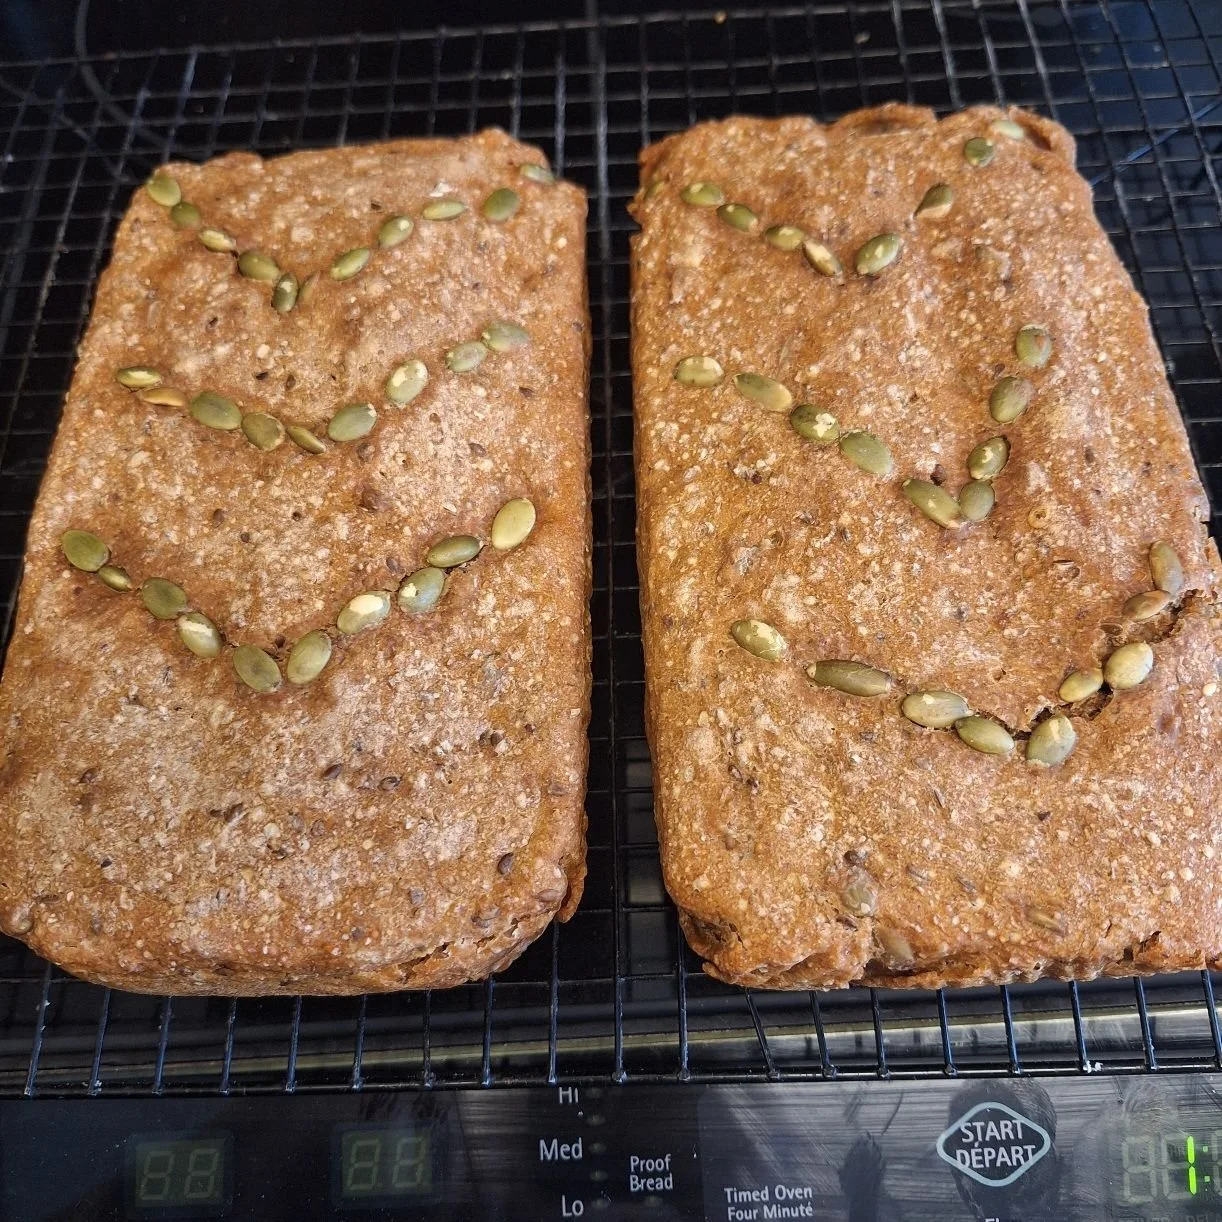
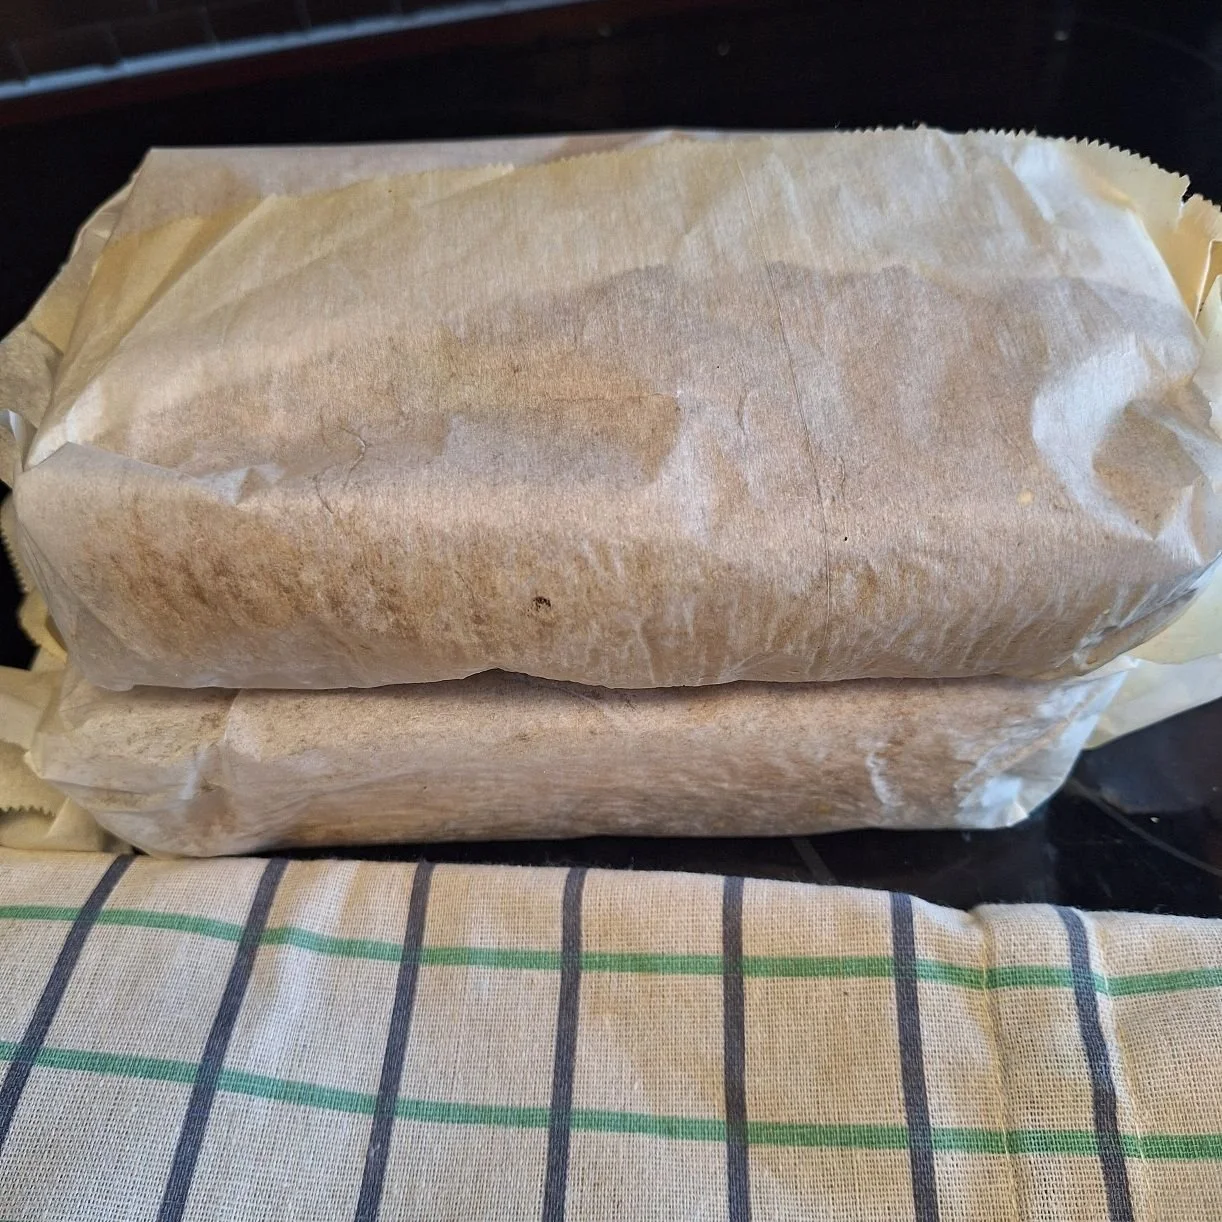
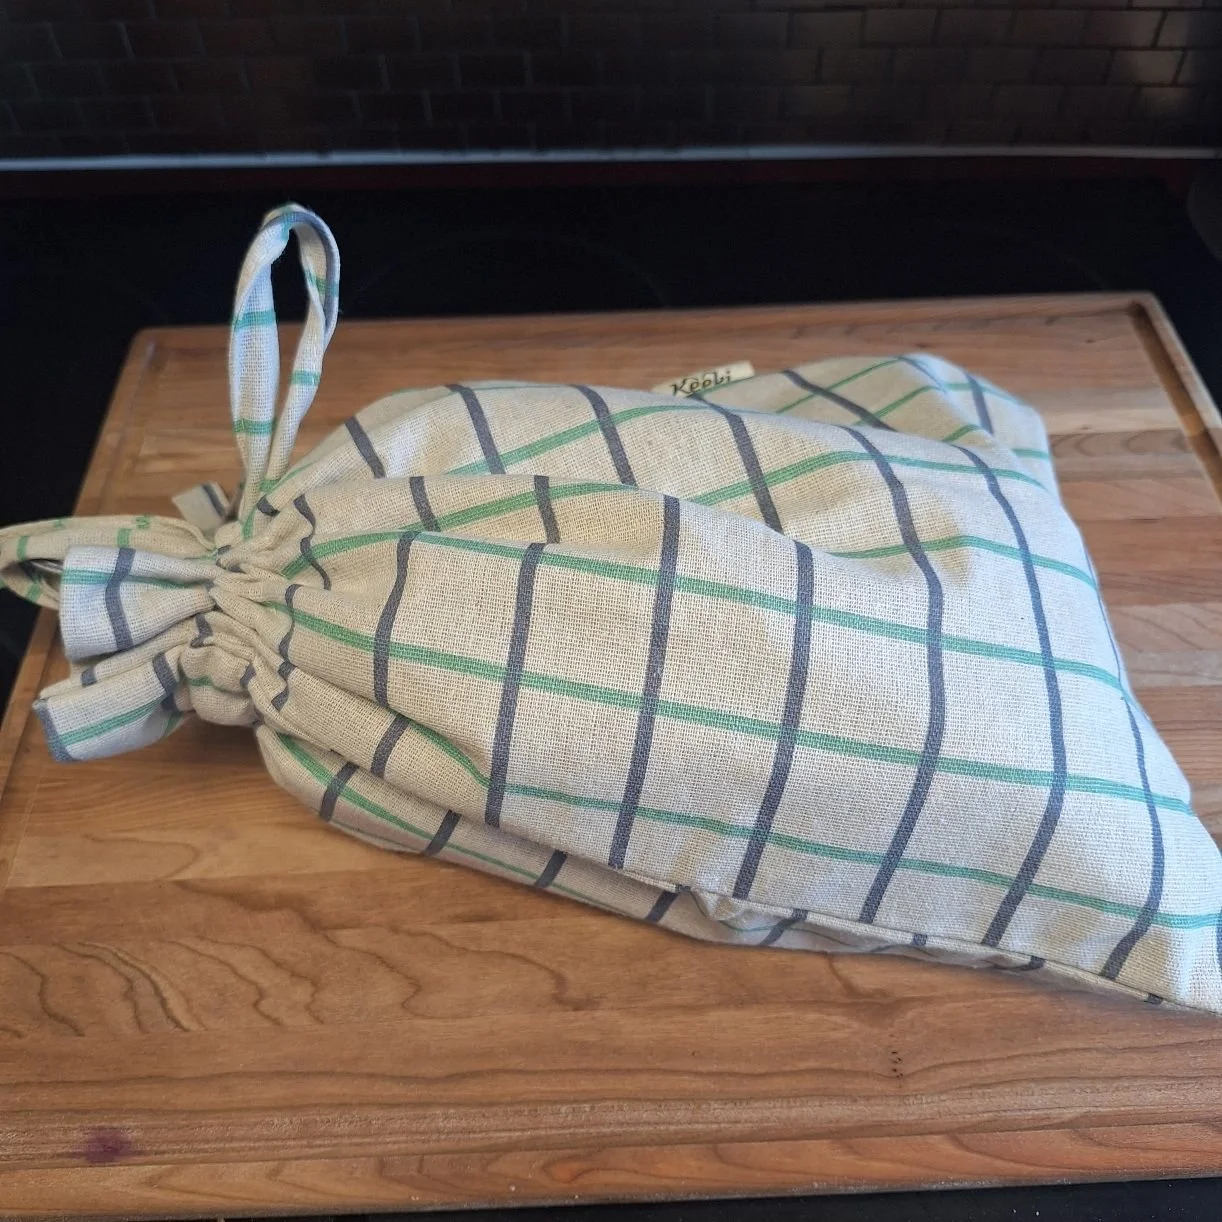
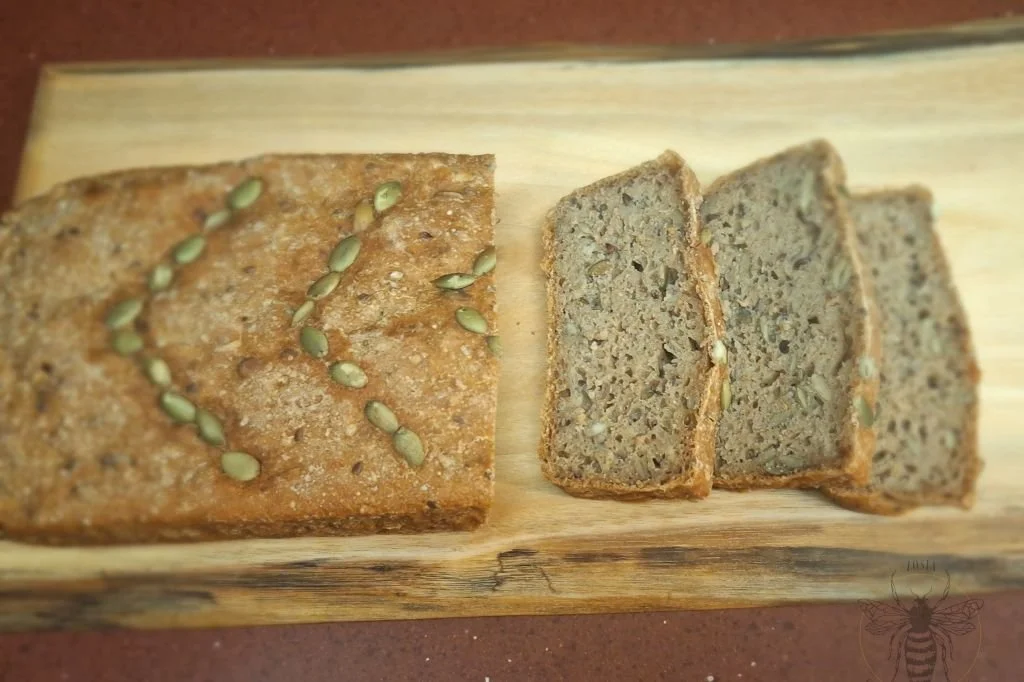
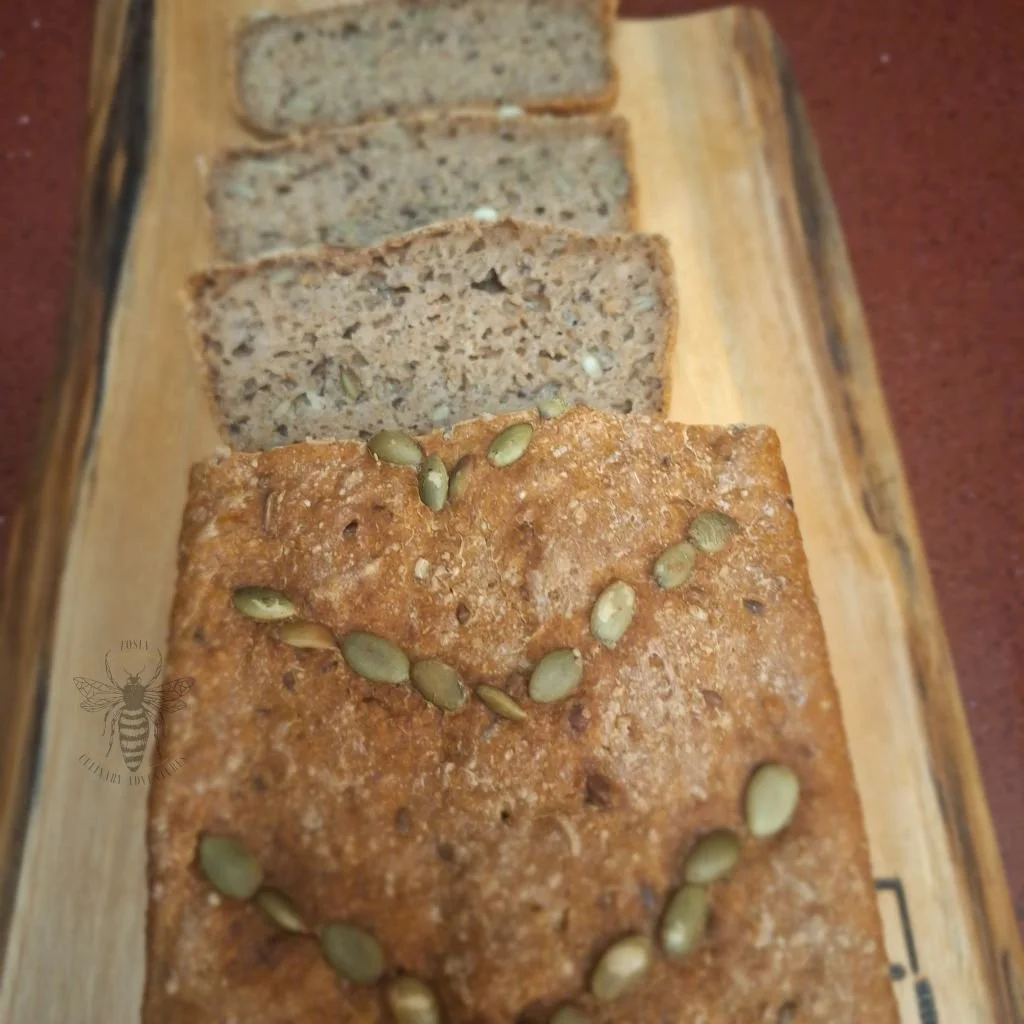
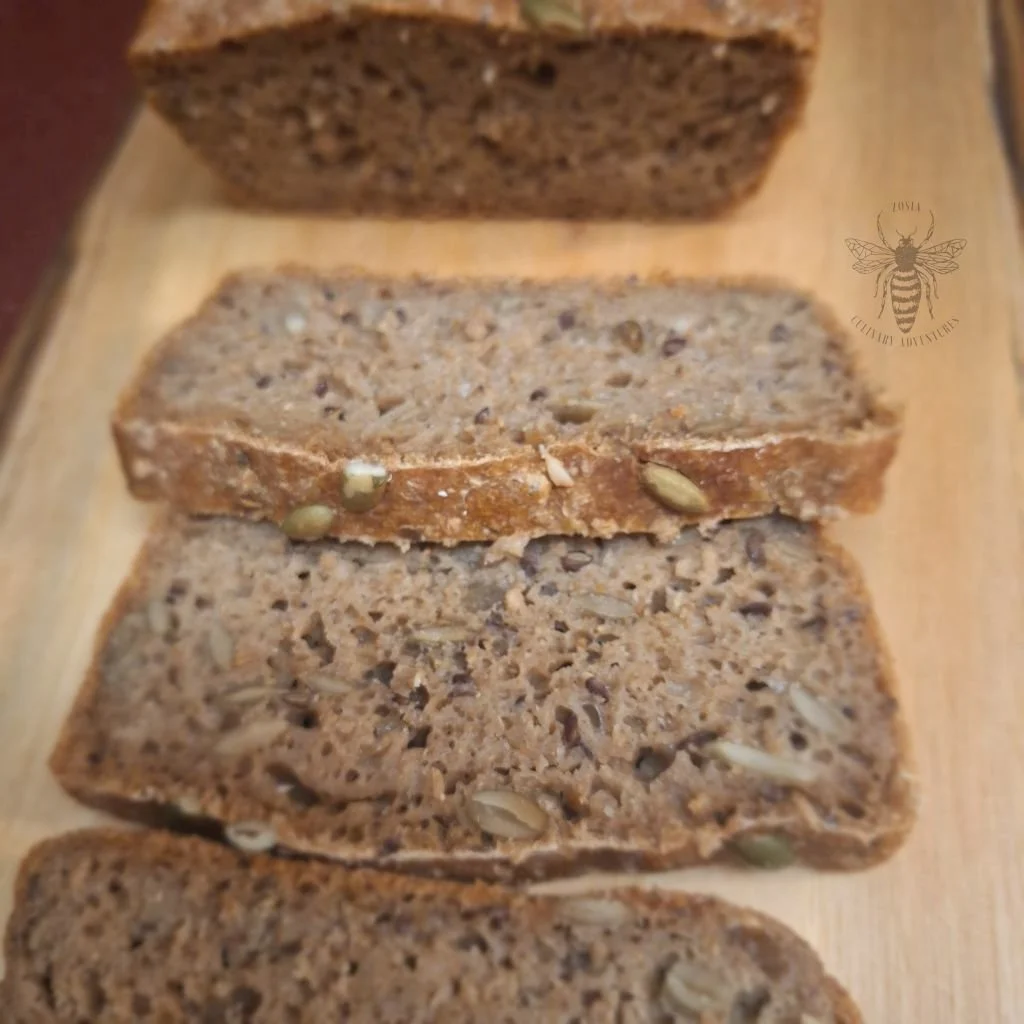
Central to the loaf is the soaker—Red River cereal soaked in boiling water, a rustic blend of cracked wheat, rye and flax—combined with a mature leaven and a final dough made from a hearty mix of rye and strong bread flour, further enriched with pumpkin and sunflower seeds for extra crunch and depth of flavour; the resulting soaker produces a dense, wholesome, highly nutritious loaf with a pleasant nuttiness. Rugbrød keeps fresh in a waxed linen bread bag placed in the wooden bread box for 10-14 days, can also be frozen.
Lacking a Pullman pan, I favour a slow‑bake method that begins by preheating the oven to 500°F (260°C) with a pan of hot water to generate steam; once the loaves are placed in the oven I immediately reduce the heat to 285°F (140°C) for a long, gentle bake—this approach preserves a moist, springy crumb and encourages an even, well‑developed crust, allowing the loaf to bake through slowly to an internal temperature of roughly 210°F (100°C).
Danish rugbrød is superb for the classic open-faced smørrebrød sandwiches, and I personally adore it simply spread with Cretons de Quebec and small cornichons. Danish rye bread is dense and packed with cracked grain, it is intended to be sliced very thinly approximately 1/8 - 1/4 inch or 0.32 cm to 0.63 cm.
Rugbrød supports weight loss through high fiber content that promotes satiety, lowers cholesterol, and helps regulate blood sugar. It is nutrient-dense, providing sustained energy, often resulting in lower calorie intake compared to refined white bread.
Long live Greenland!
Danish Rye Bread (Rugbrød) Recipe
By Zosia Culinary Adventures | Date: January 24, 2026
Preparation Time: 2 - Day Process
Baking Time: 1.5 hrs
Yield: 2 loaves or 56 slices ( each loaf sliced into 28 very thin slices)
Ingredients:
Day 1: the night before
Soaker :
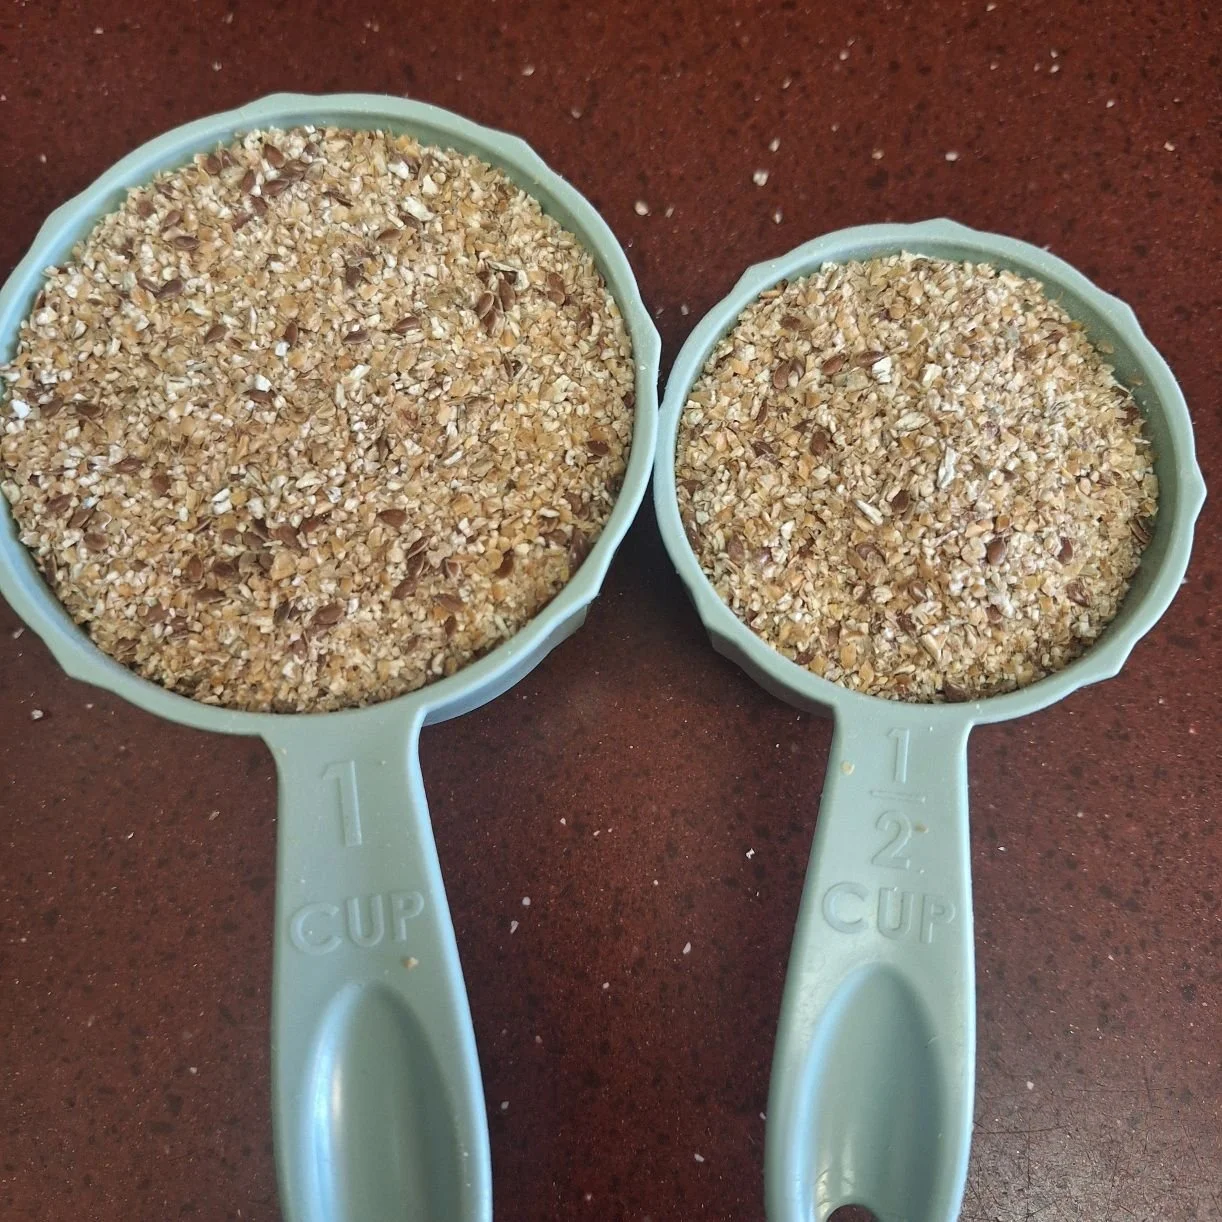
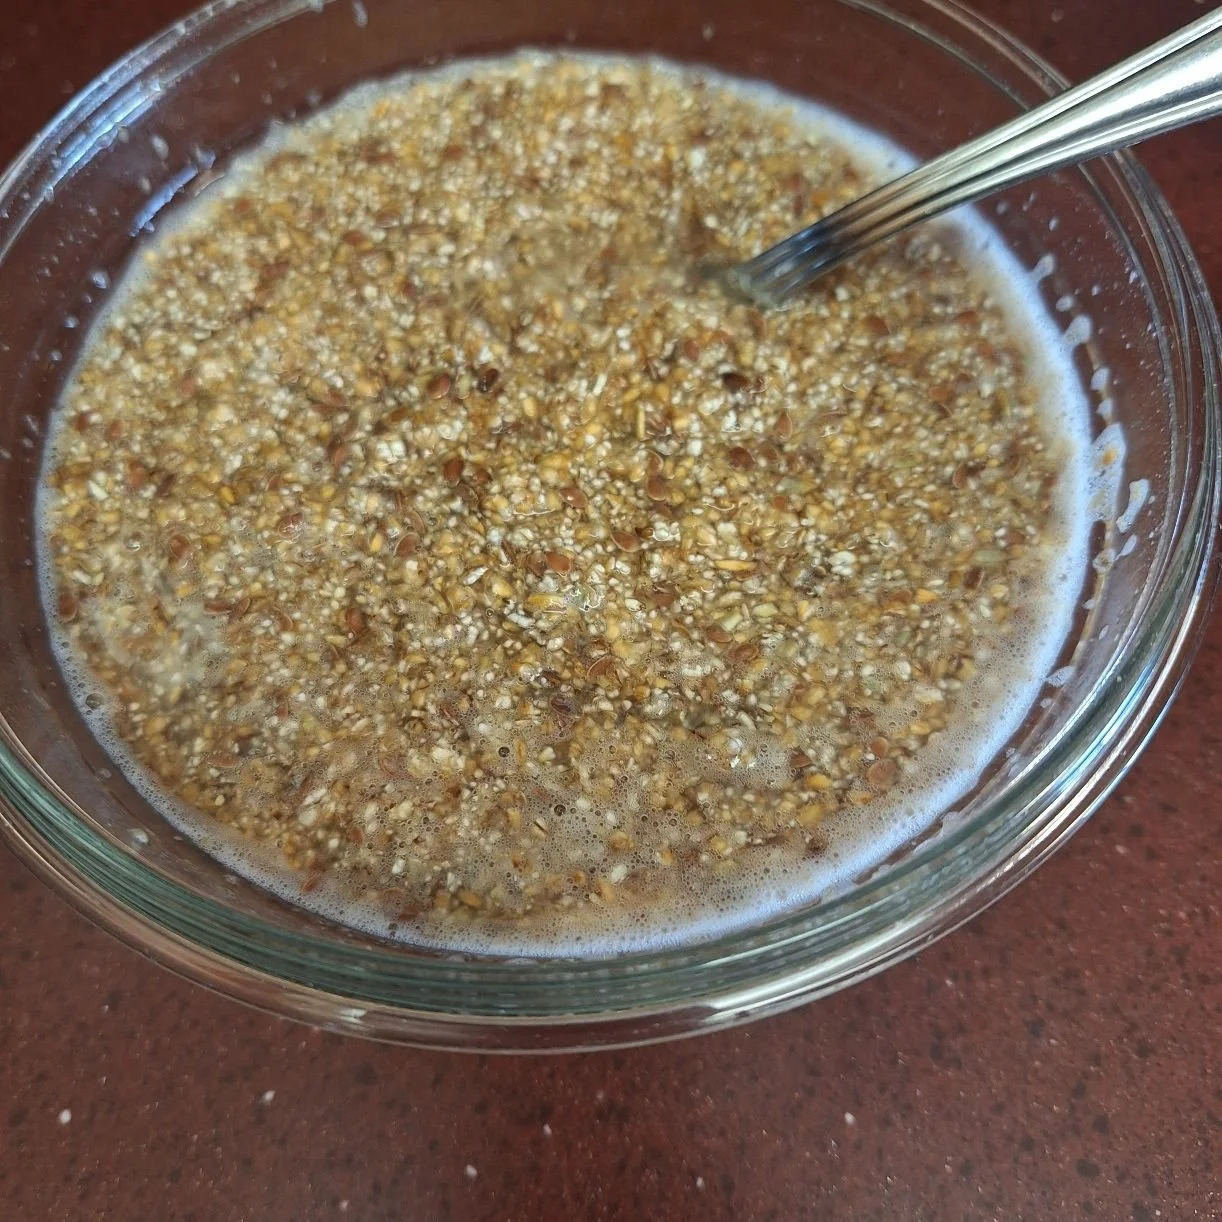
1.5 cups Red River Cereal
2 cups boiling water
Levain and dough:
250 g sourdough ferment
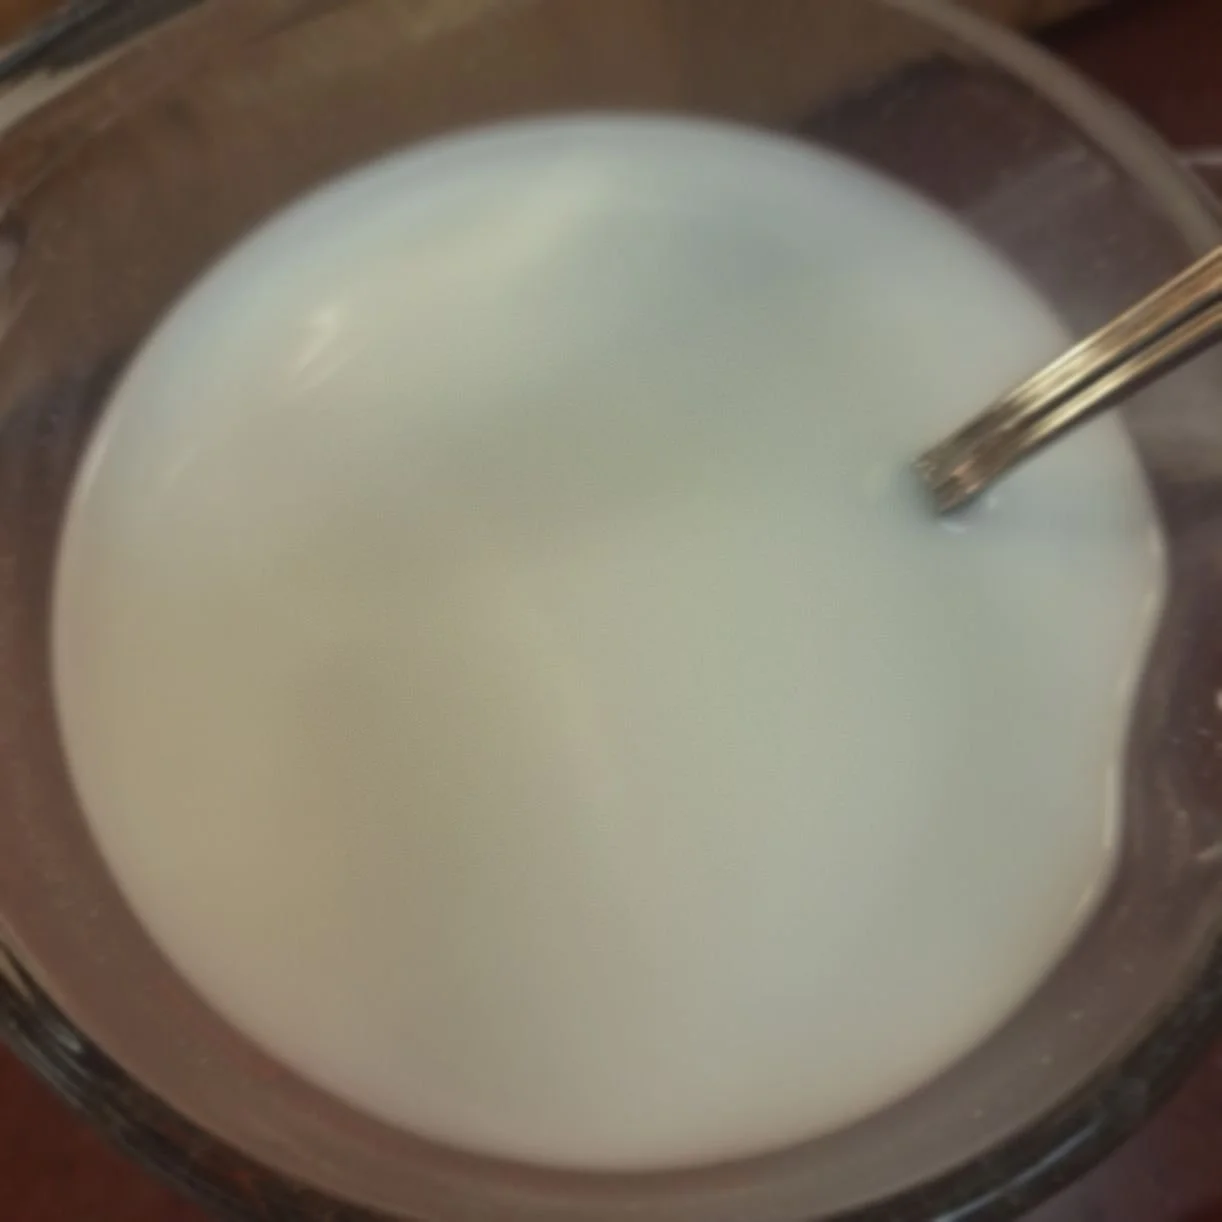
400 g lukewarm water
15 g sea salt
2 tablespoons molasses
1/4 cup buttermilk
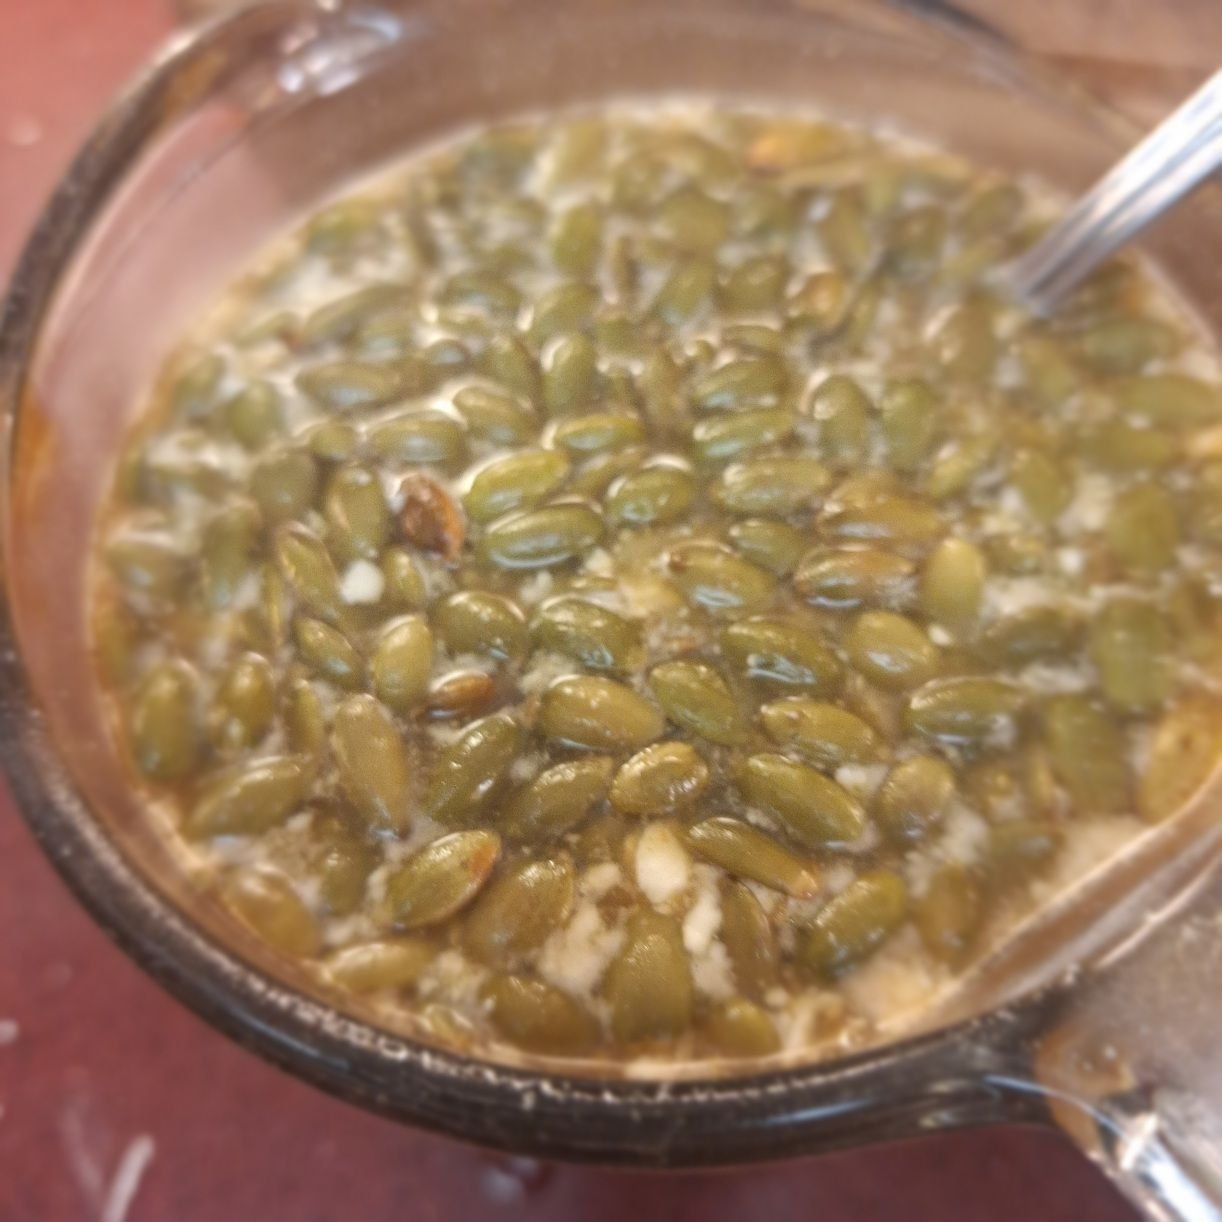
1 cup sunflower/pumpkin seeds
Instructions:
The night before, place the Red River cereal in a bowl and pour over boiling water. Cover the bowl and allow it to soak overnight, or for at least 12 hours, until fully softened.
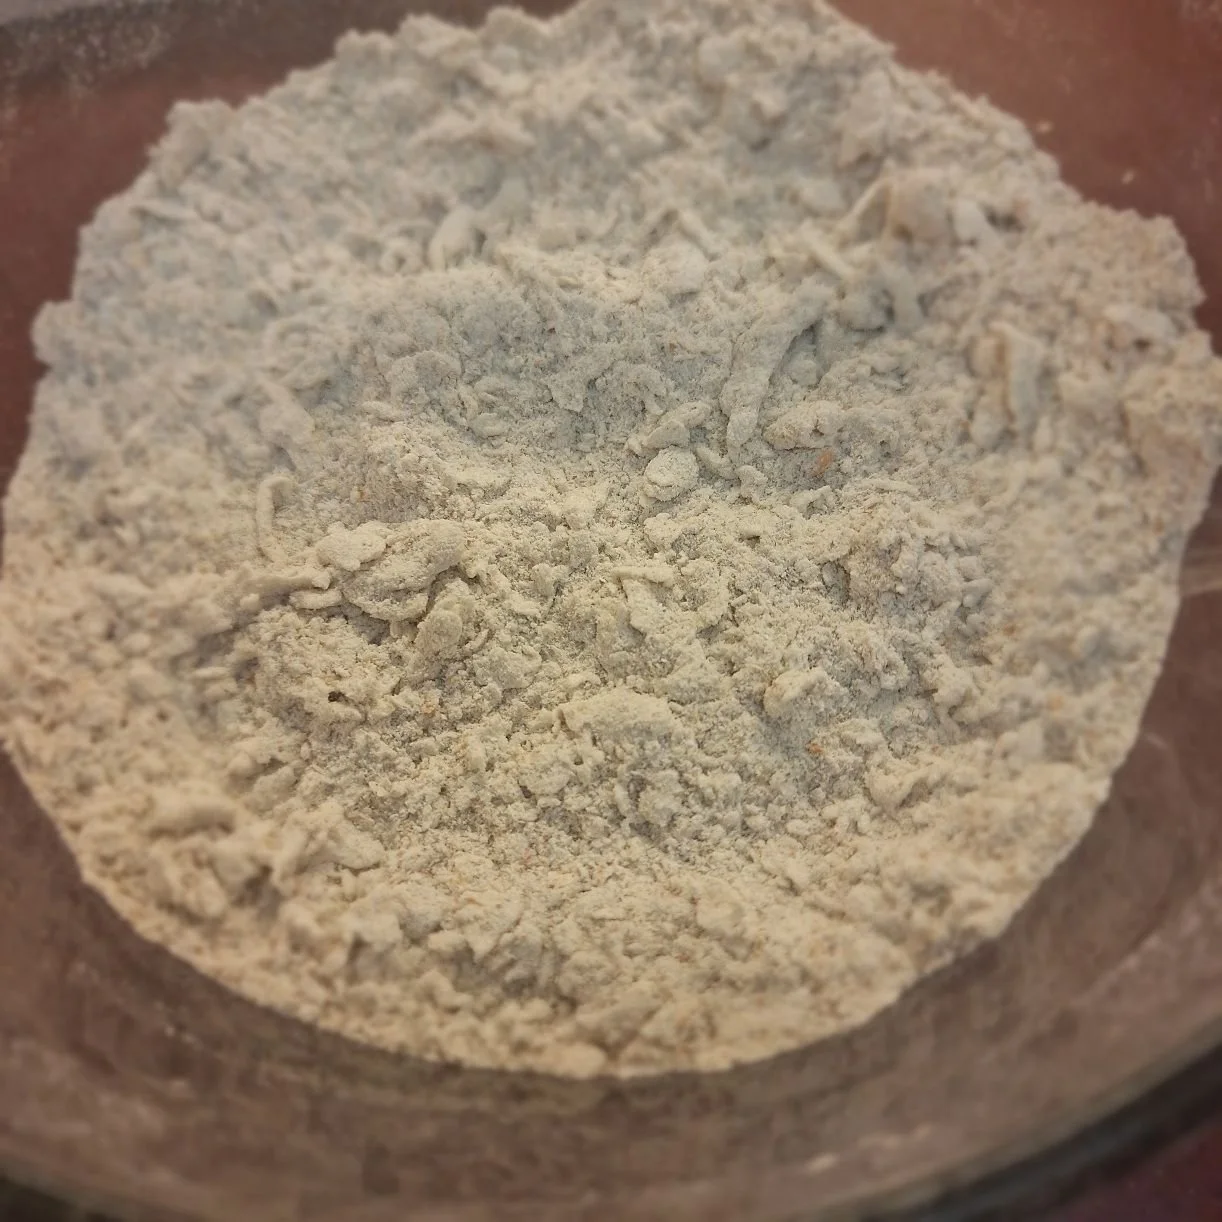
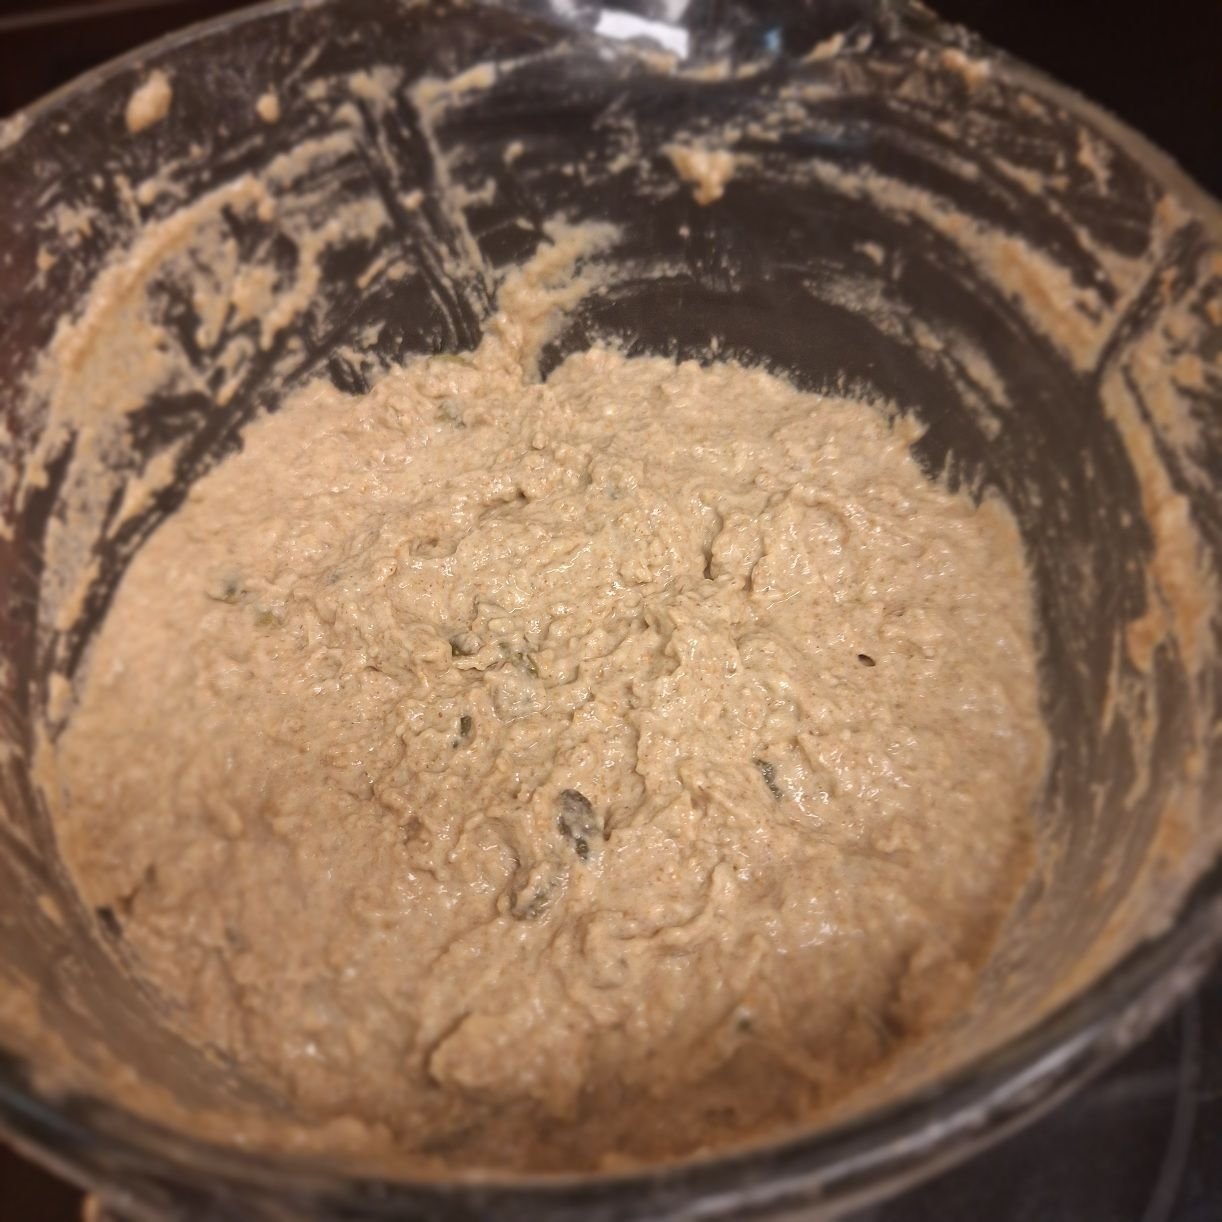
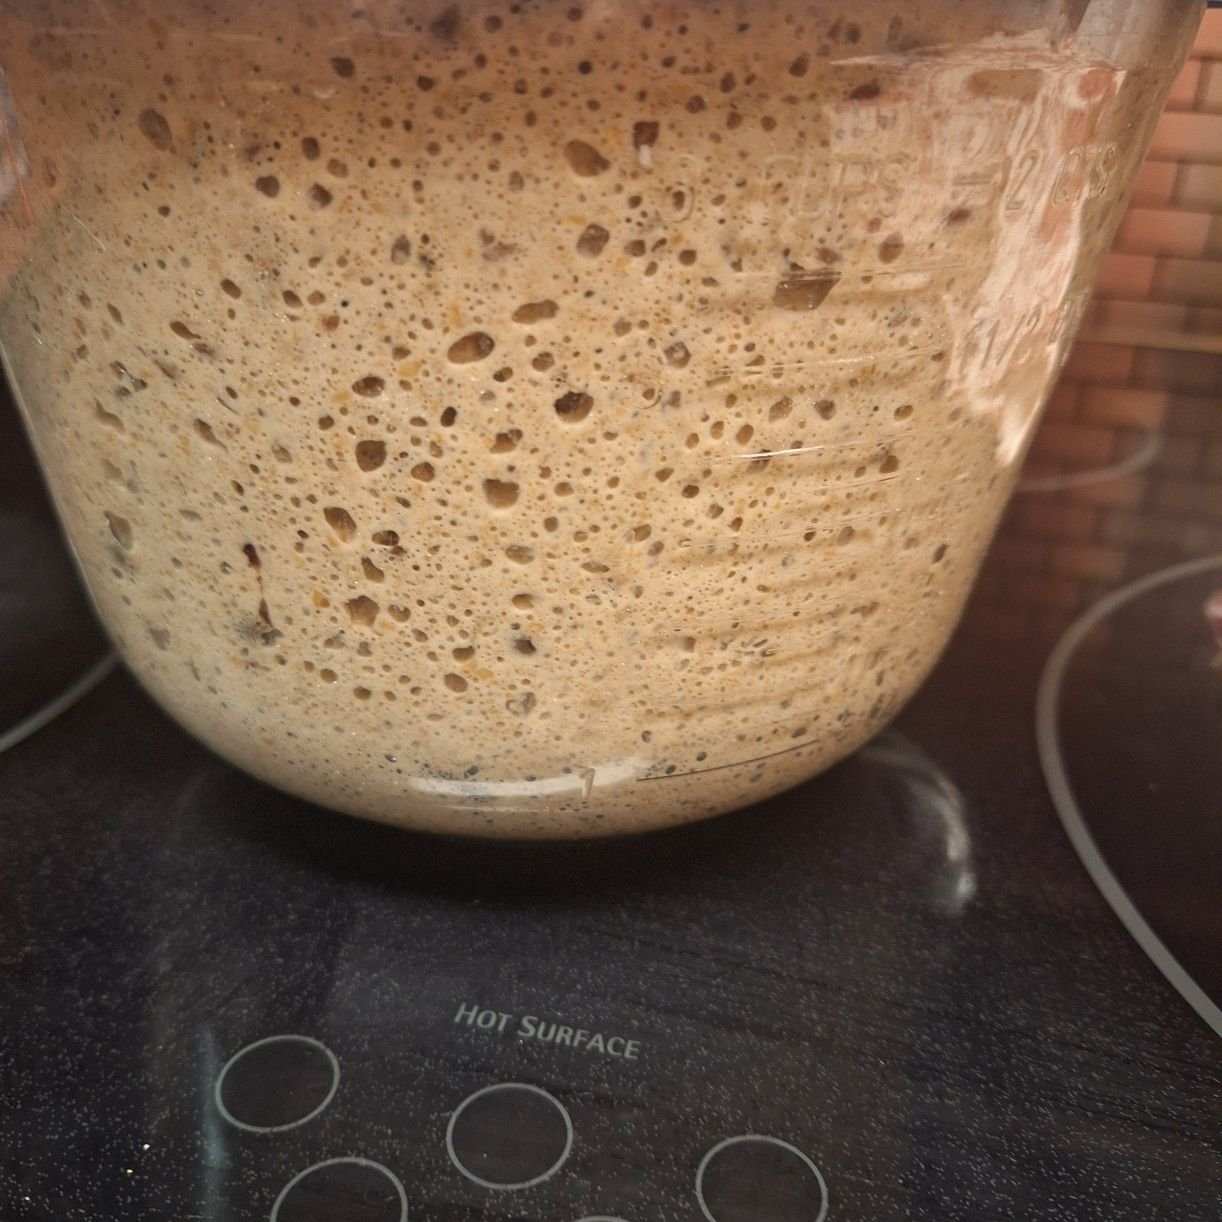
The night before, stir together rye flour, bread flour and salt in a large bowl, then work the sourdough starter into the dry mixture with your fingertips until it resembles coarse breadcrumbs; meanwhile, whisk the wet ingredients—water, buttermilk and molasses—in a separate bowl and pour them into the dry mixture, using a Danish whisk to marry the two while leaving ample headroom for expansion. Fold in sunflower or pumpkin seeds, continue mixing until the components are evenly hydrated, then cover the bowl tightly and let it ferment overnight (or for at least 12 hours) until the batter becomes bubbly.
The next day: combine the soaked cereal with the bread dough. The resulting consistency will resemble a thick porridge and won’t be suitable for kneading. Cover the mixture well and let it rest for one hour.
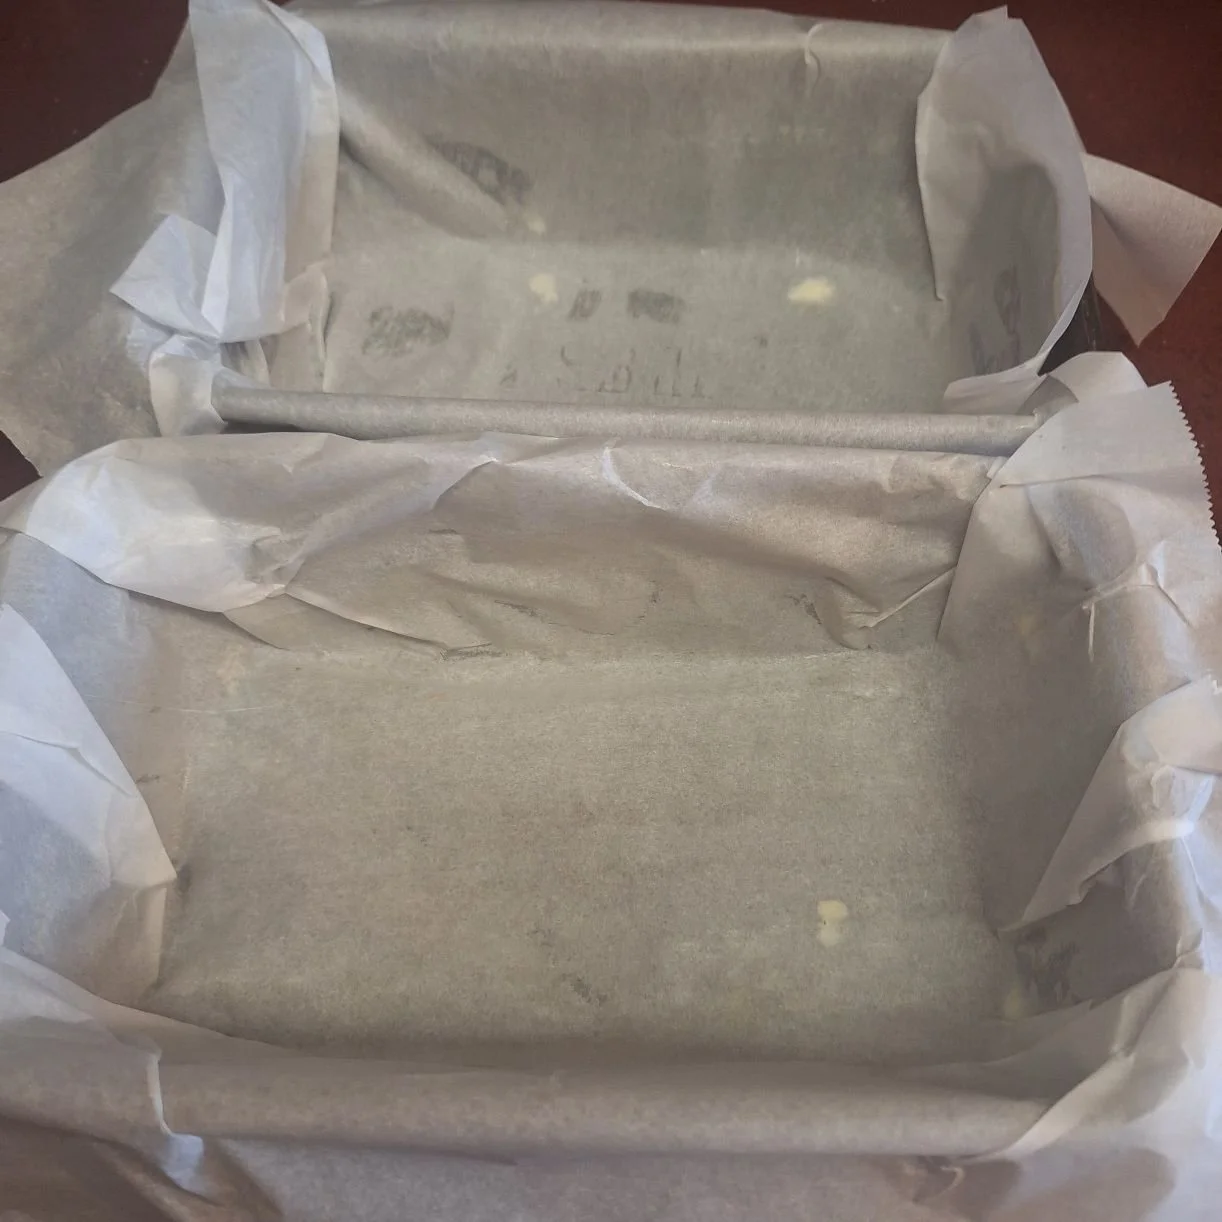
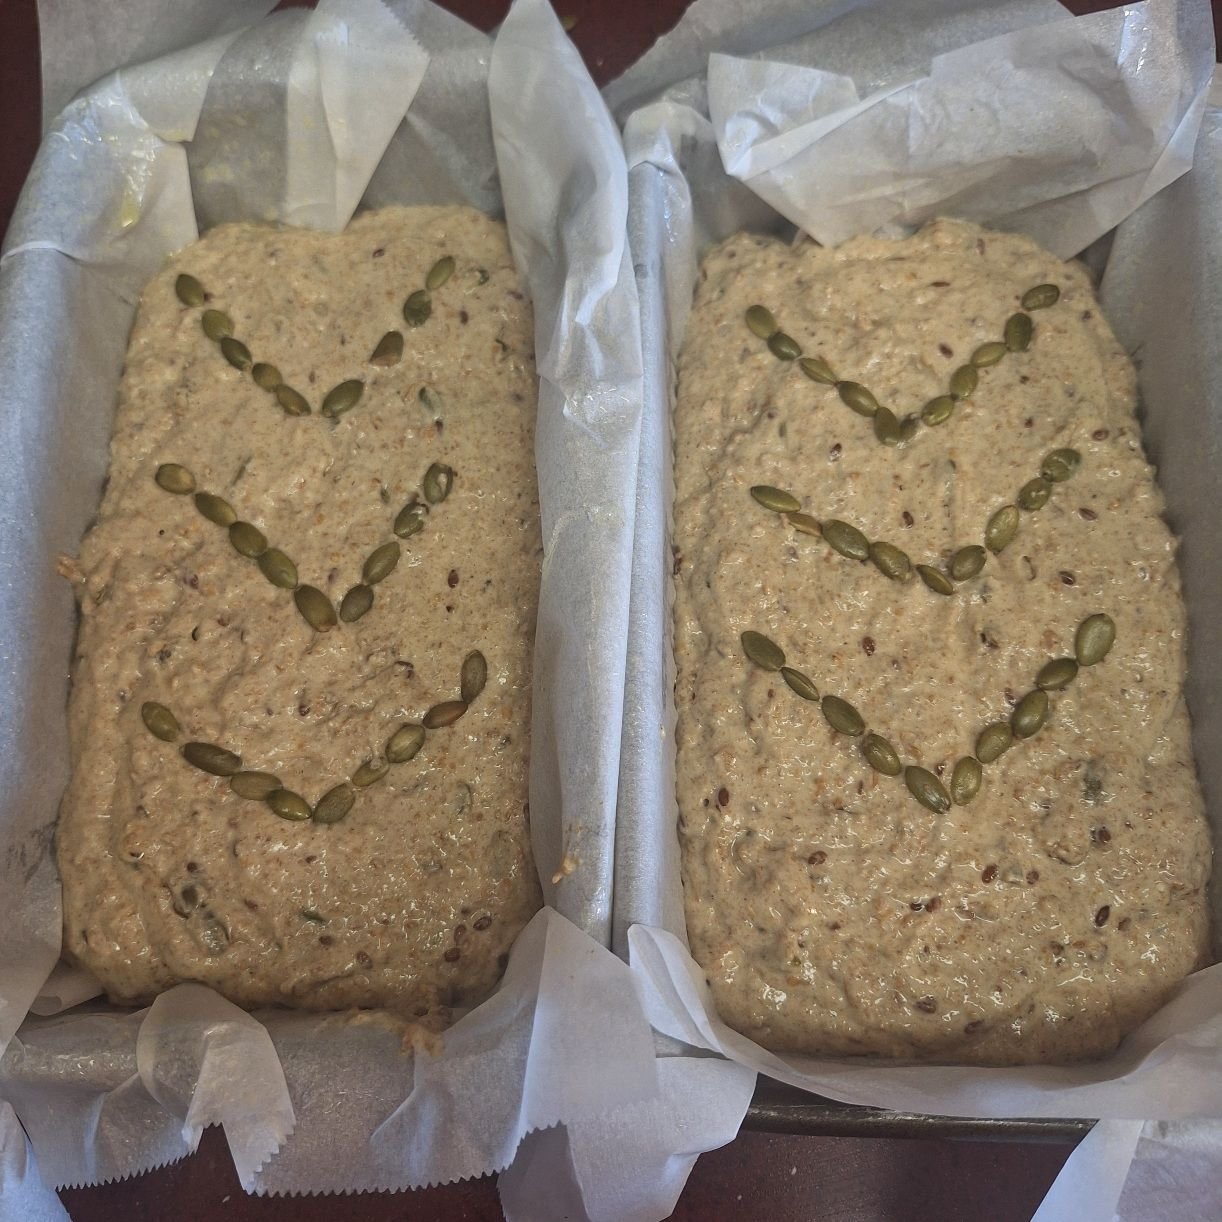
While the dough is resting, lightly butter two bread pans measuring 20 cm by 10 cm each and line them with buttered parchment paper, leaving flaps hanging over the two longer sides; these overhanging flaps act as convenient handles so you can easily lift the baked loaves from the pans without damaging their shape and ensure a clean, intact release.
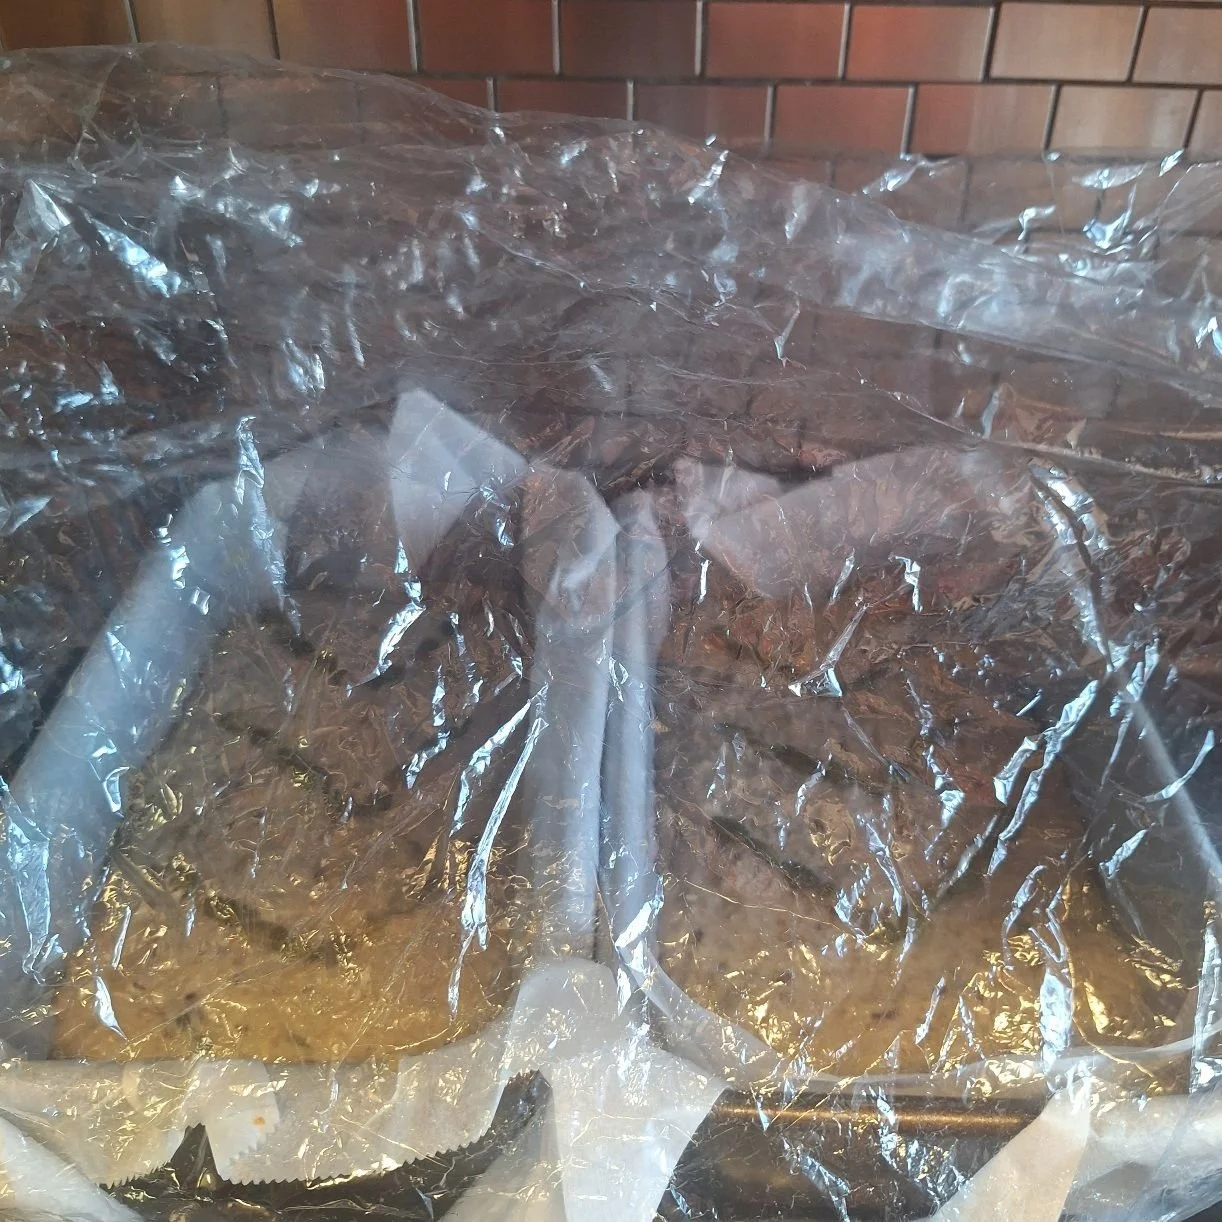
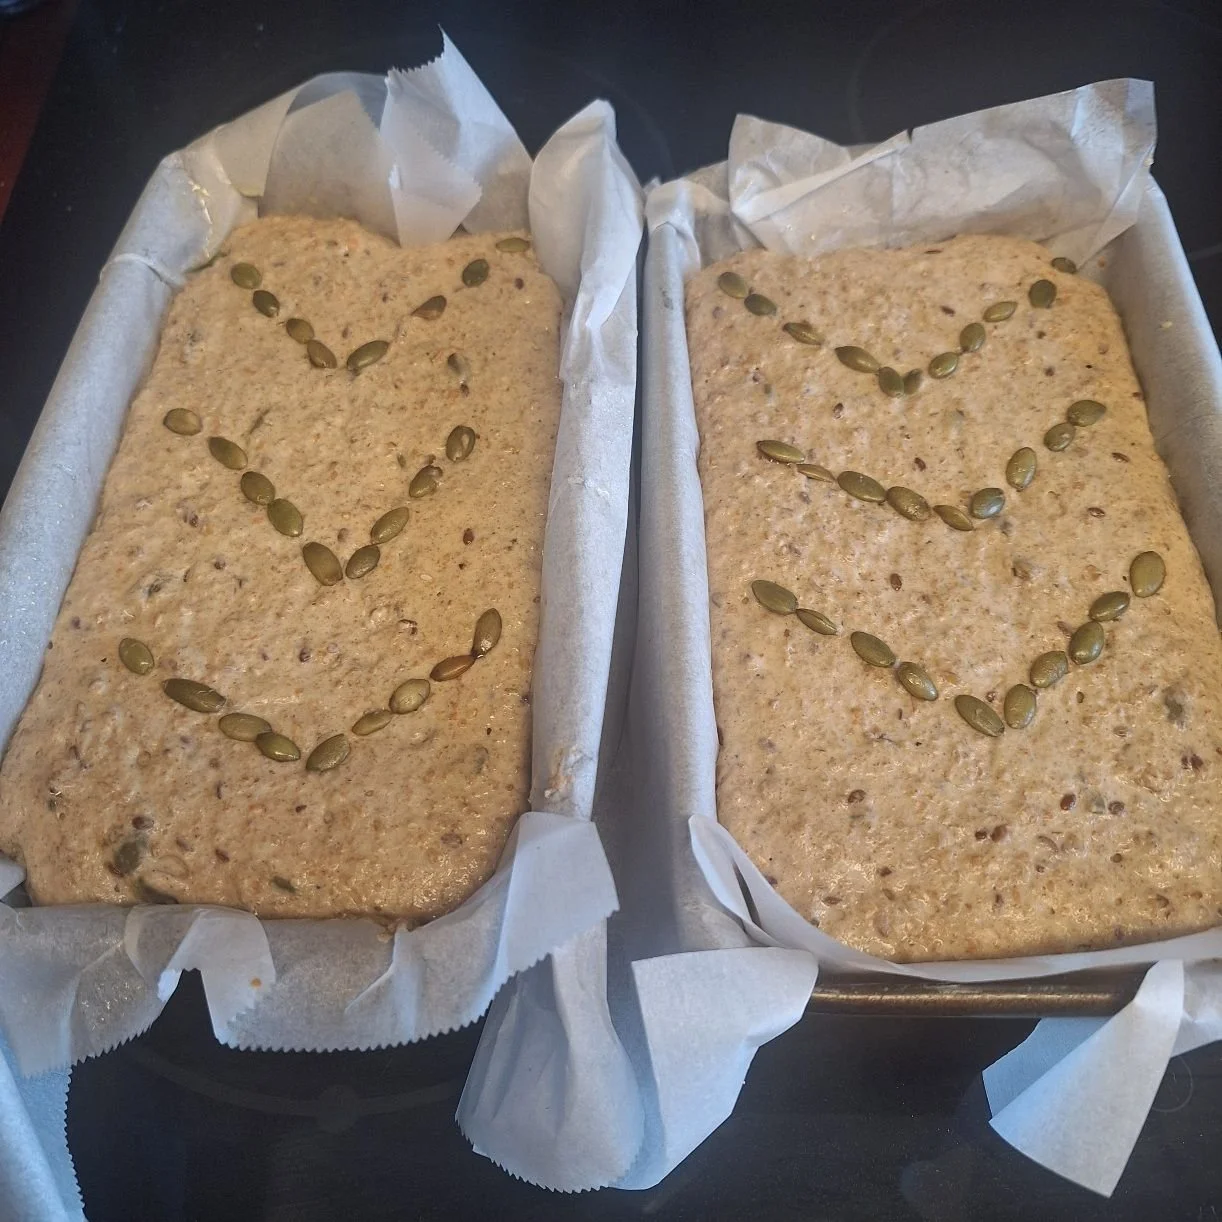
Divide the dough between two pans. Smooth the top with a wet spatula. Cover the pan with plastic bag or wrap, being careful to stretch so it doesn’t come in contact with the dough. Let it rise for 2-4 hours or until small 6-7 pinhead-sized holes appear on the surface and the dough has risen at least 50-80%.
Preheat the oven to 500°F (260°C).
Just before placing the loaves in the oven, slide a metal pan filled with hot water onto the bottom rack to create extra steam—unless your oven already has a built‑in steam function—then drape a thick bath towel over the glass door to protect it from thermal shock and lightly spray the oven interior with water. Work swiftly: set both loaves into the oven and immediately lower the temperature to 285°F (140°C).
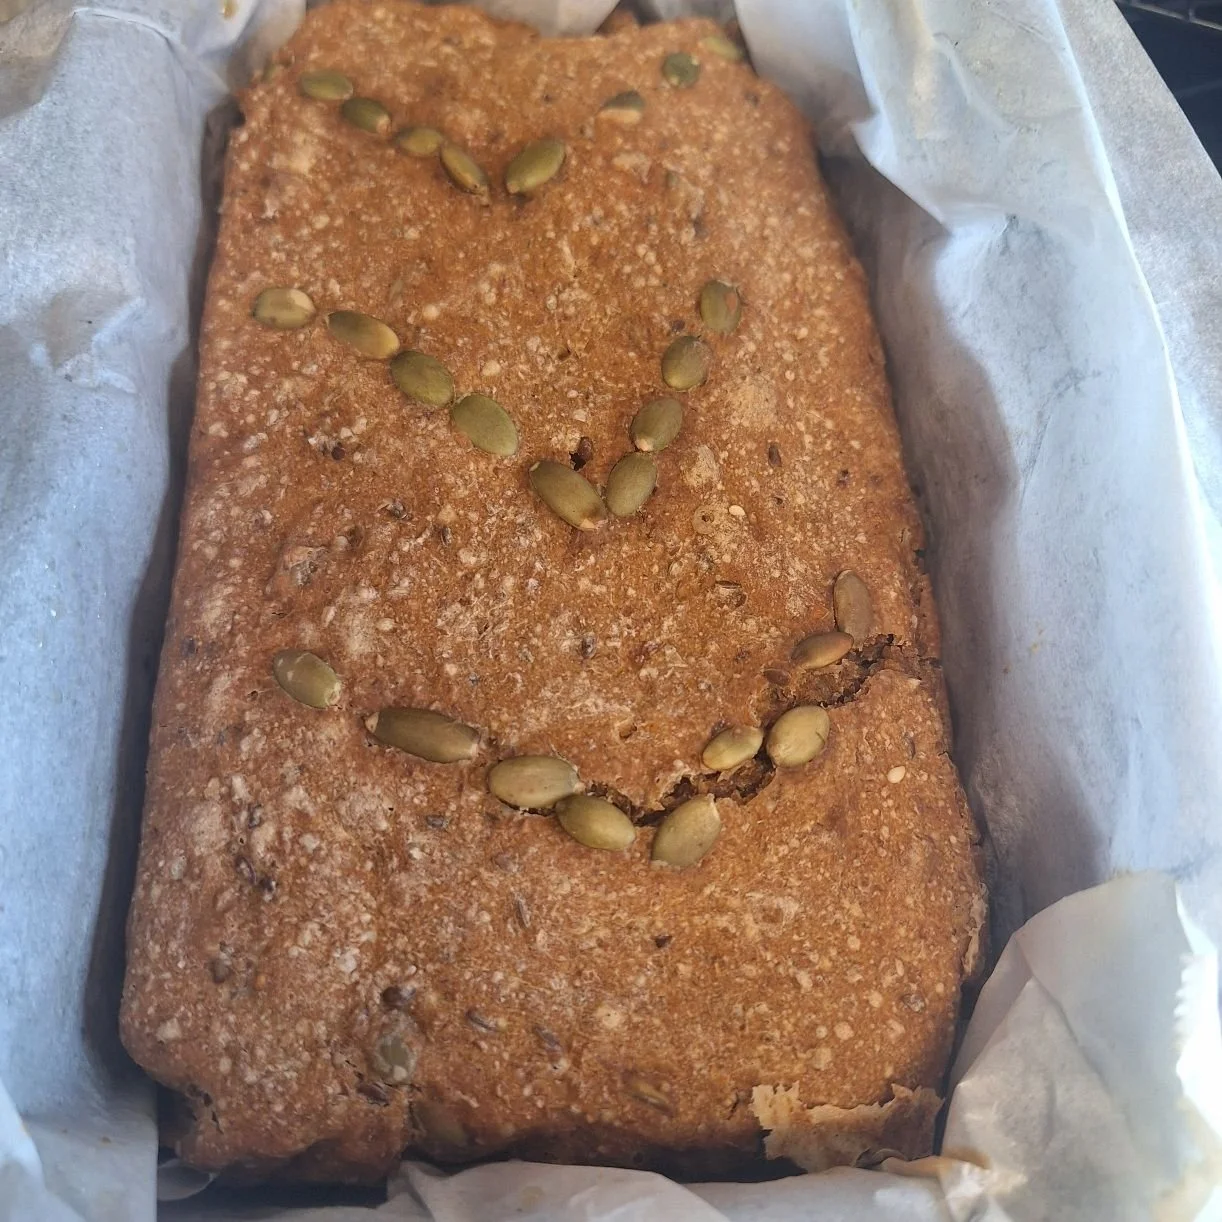
Bake for 1 hour, then use a digital thermometer to check the temperature at the center of the loaf. It should read 210°F (100°C). If it is lower, return the bread to the oven for extra 10 minutes until the center of the loaves reaches this temperature.
After taking the pans out, immediately remove the bread by tipping the loaf gently to its side, tugging carefully on the parchment paper, and giving the pan a light knock to ease the loaf out; then transfer it to a wire rack to cool completely. Once fully cooled, wrap the loaf in fresh parchment and place it inside a bread linen bag to protect the crust while allowing slight breathability. Wait 24 hours before slicing — this resting period prevents a gummy interior and yields a more even, tender crumb that slices cleanly and reveals the bread’s true texture.