The Perfect Pullman: Overnight Sandwich Bread
The Perfect Pullman: Overnight Sandwich Bread
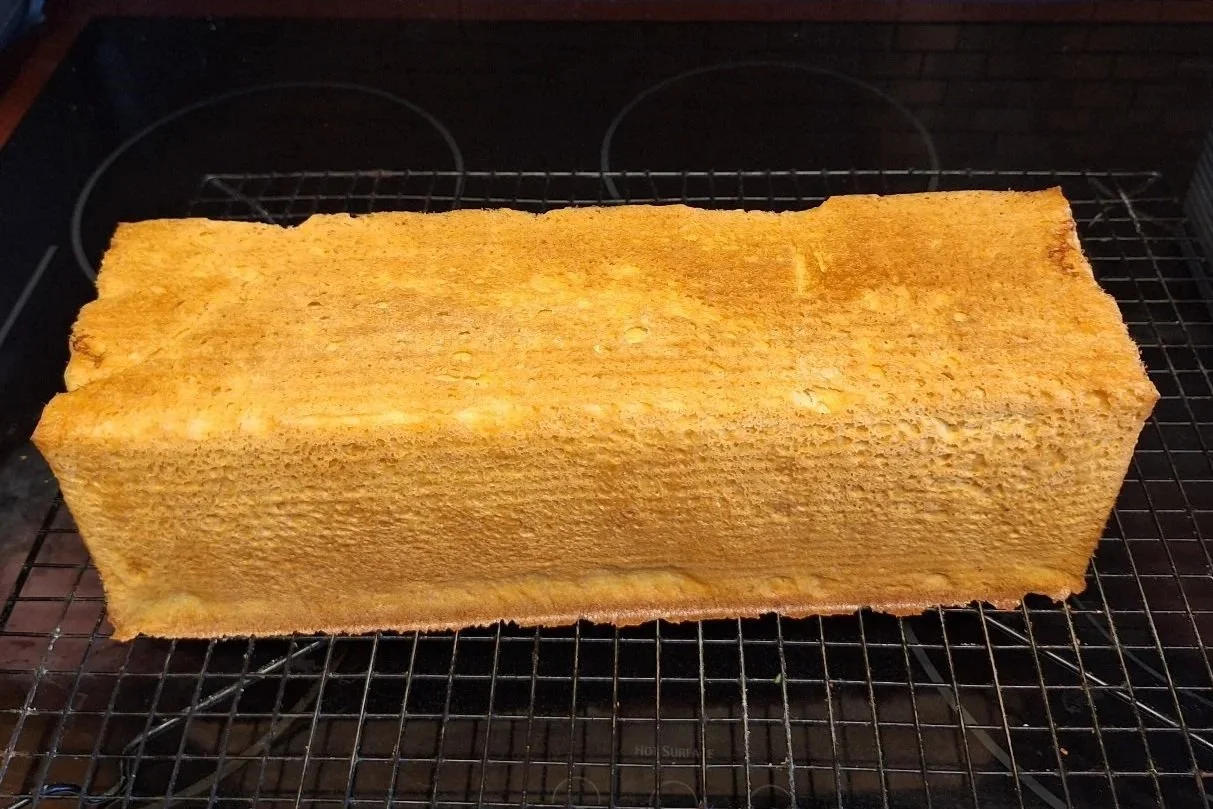
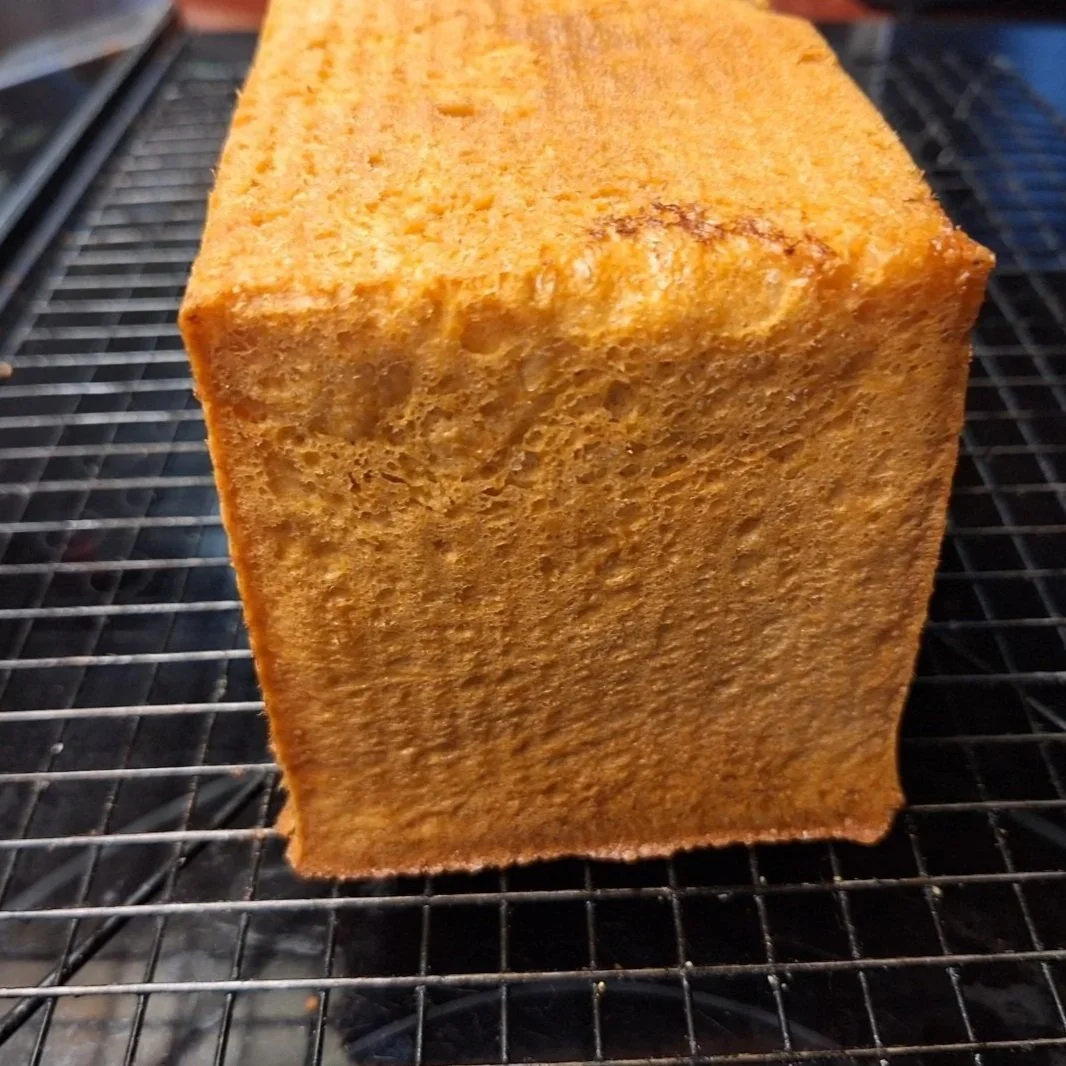
There’s something deeply satisfying about baking a loaf that’s as beautiful as it is practical, and this Overnight Pullman Bread delivers on both. With its signature straight sides and perfectly square shape, this classic sandwich loaf is designed for uniform slices—ideal for everything from morning toast to stacked deli sandwiches.
What makes this recipe truly special is the overnight rise. By allowing the dough to rest slowly, it develops a richer flavor and a soft, tender crumb with minimal effort. It’s the kind of bread that fits effortlessly into your routine: mix the dough the night before, let time do the work, and wake up ready to bake.
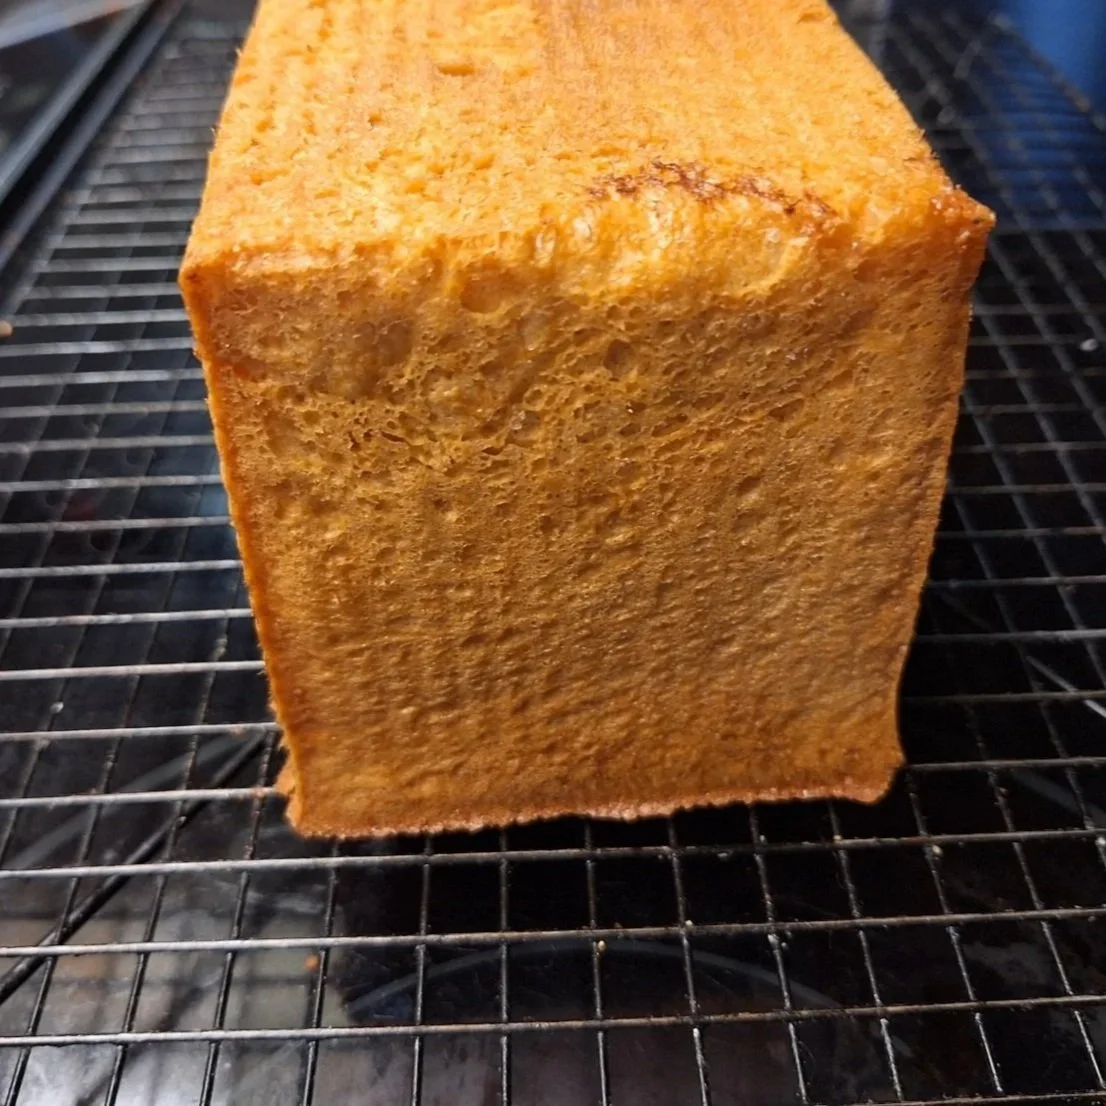
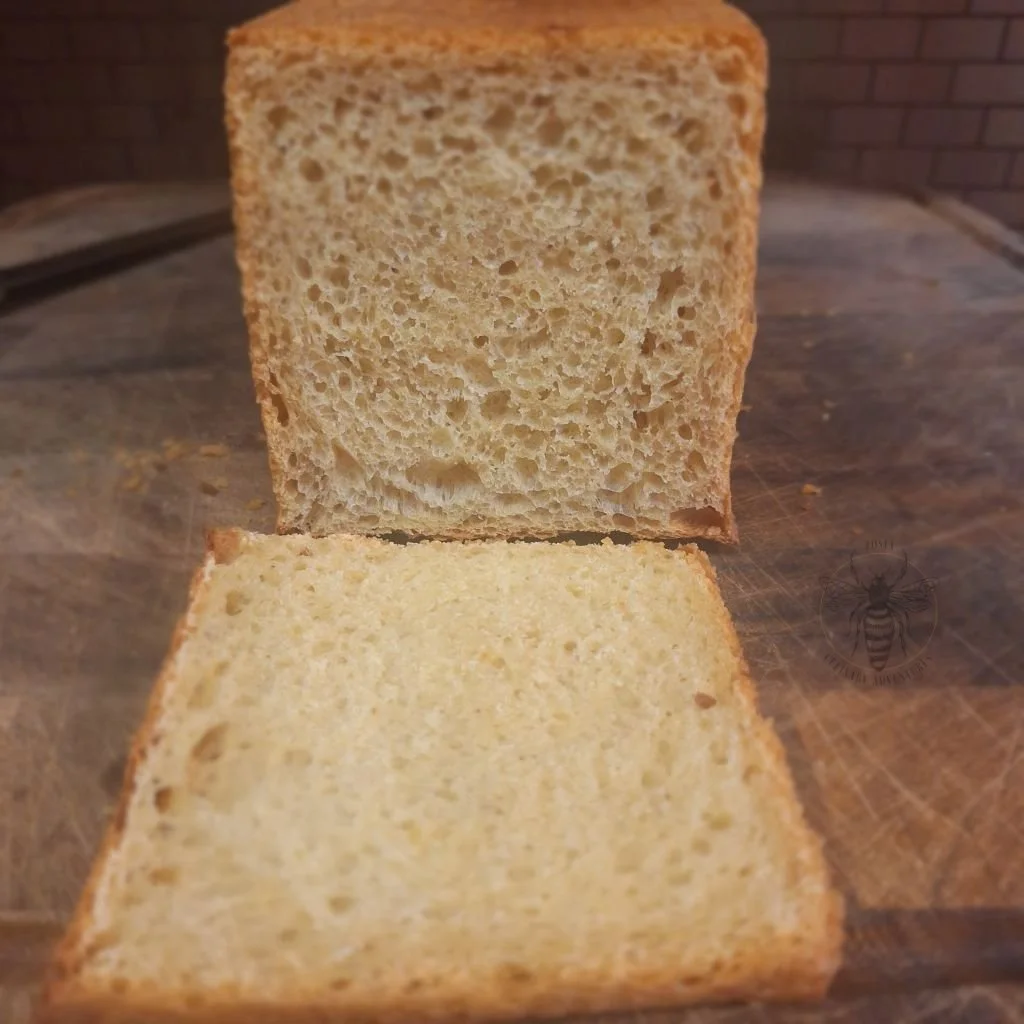
The result is a golden, evenly baked loaf with a fine, pillowy texture and just the right amount of structure. Whether you’re new to bread baking or looking to elevate your homemade sandwich game, this Pullman loaf is a reliable, bakery-style staple you’ll come back to again and again.
#pullmanloafpan #arvaflourmills #overnightsandwichbread
The Perfect Pullman: Overnight Sandwich Bread Recipe
By Zosia Culinary Adventures | Date: March 27, 2026
Preparation Time: 45 minutes, Resting: 12-14 hours, 2nd Rising: 2.5 hours
Baking Time: 45 minutes
Yield: 1 loaf (18 slices)
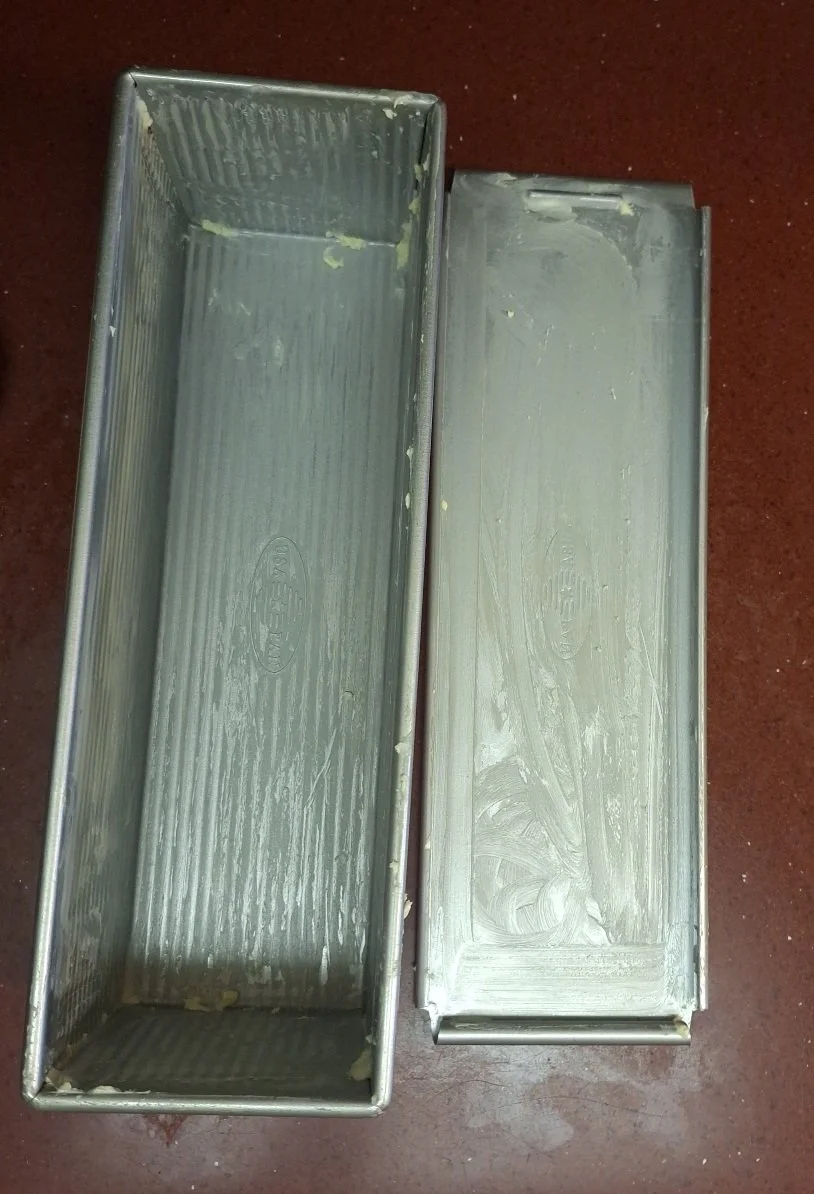
Pullman Loaf Pan and cover (size:13 inch x 4 inch or 33 cm x 10.1cm)
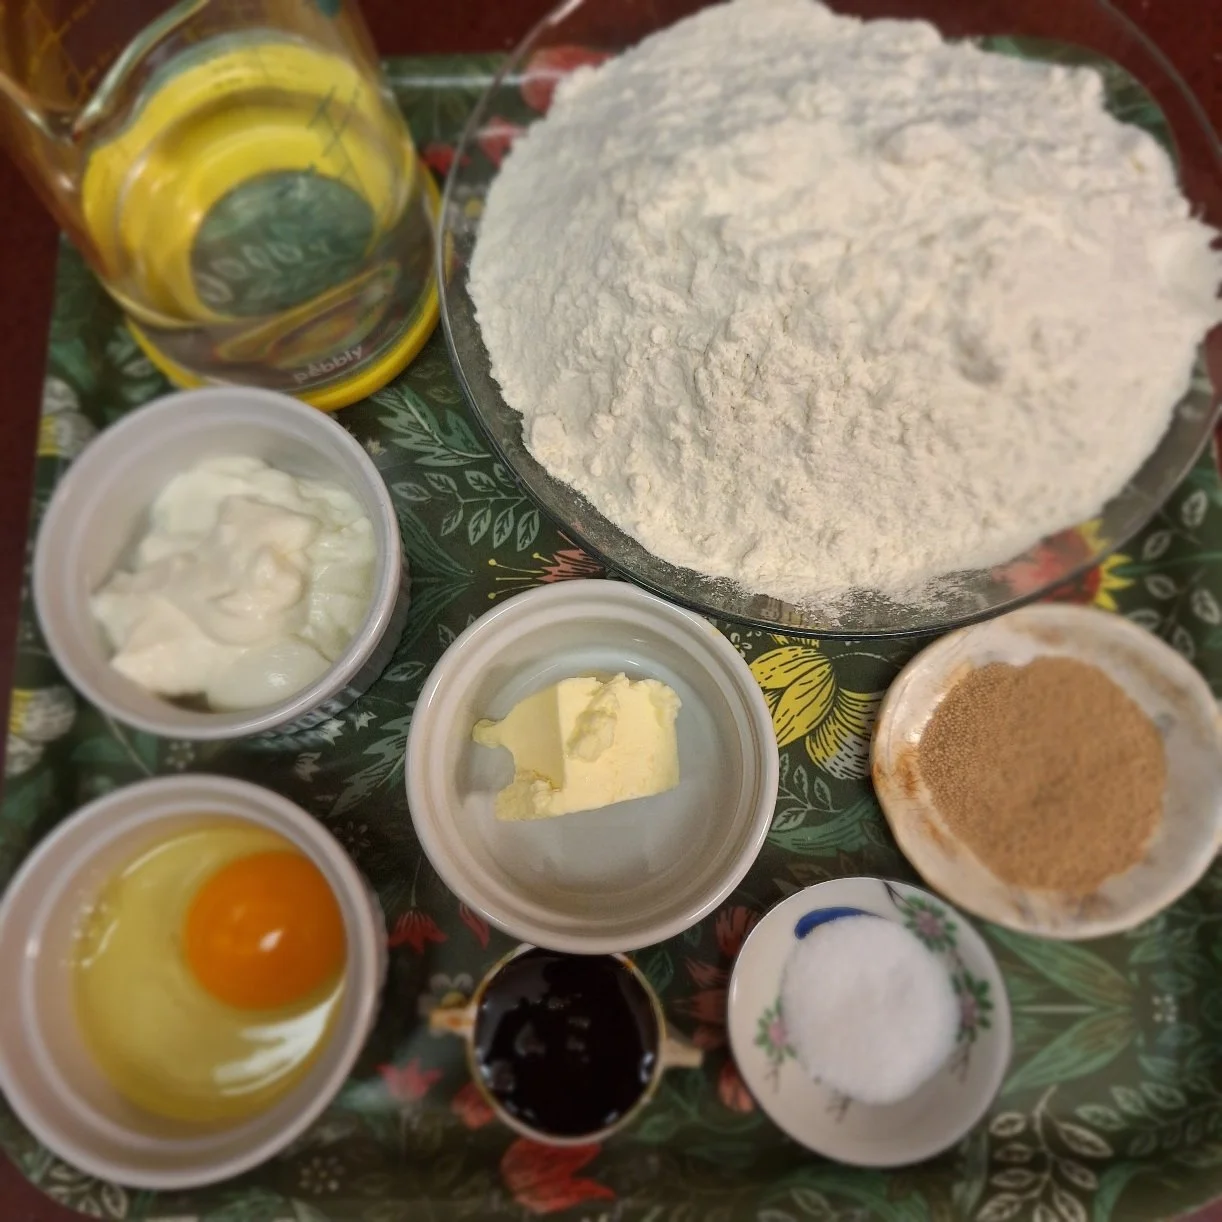
Ingredients:
18 g fresh yeast or 6 g instant yeast
32 g malt syrup
10 g sea salt
285 g filtered water, room temperature
1 large egg, beaten
25 g unsalted butter plus extra butter to grease the pullman pan/cover
80 g plain quark cheese or cream cheese
Instructions:
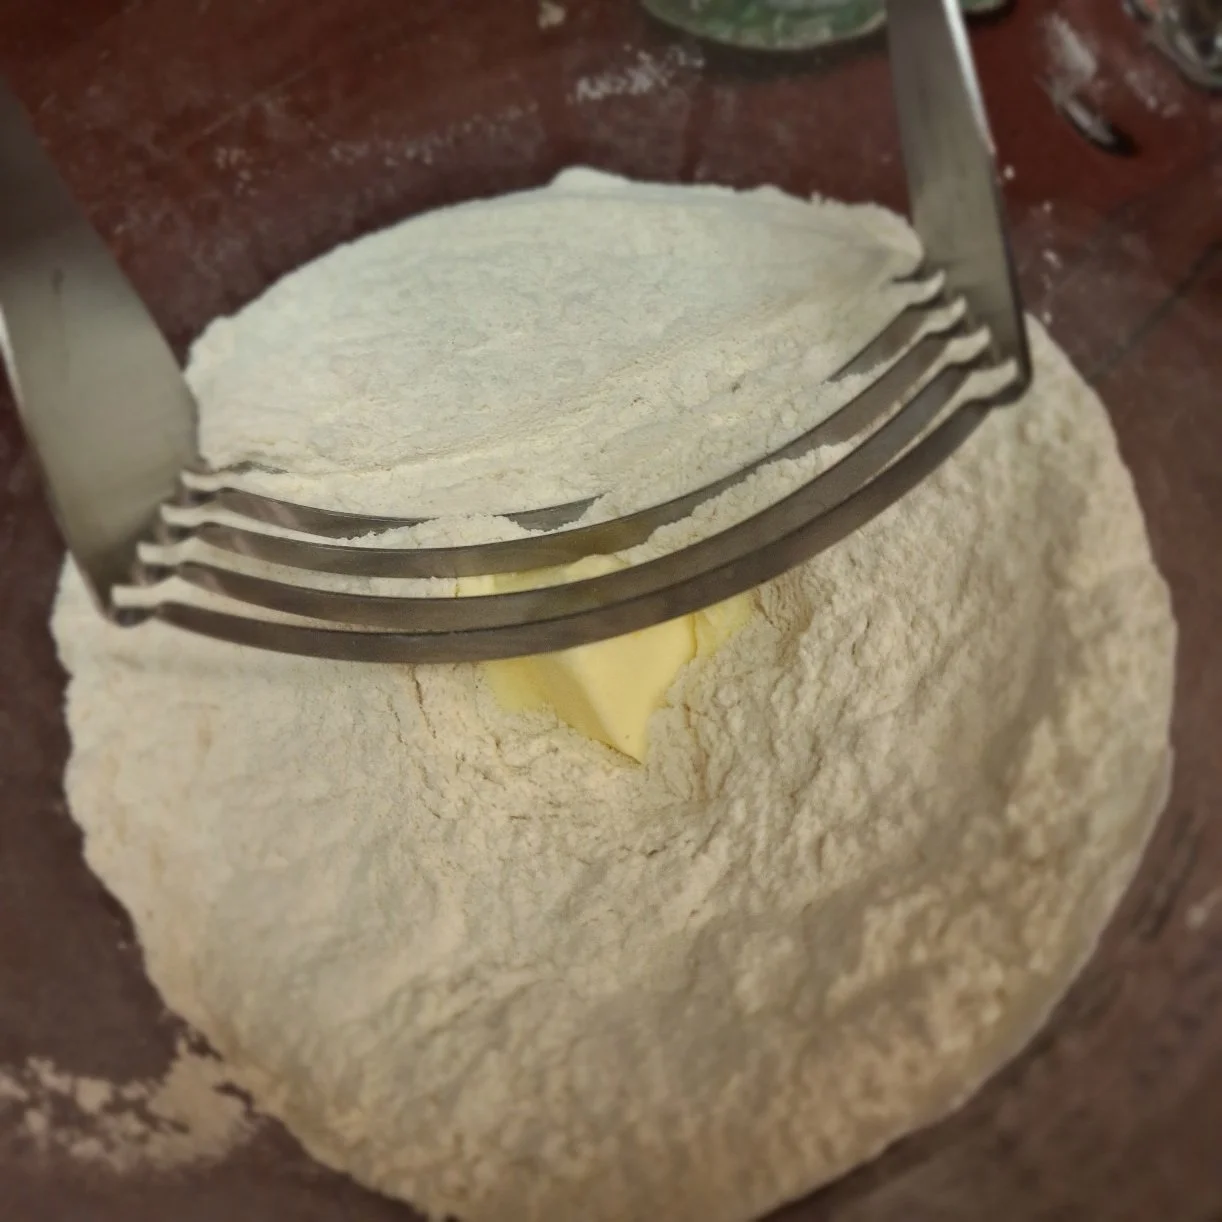
In the large mixing bowl, combine the flour and salt, then add the chilled butter. Cut the butter into the flour with a pastry cutter until it is well incorporated and the mixture resembles coarse crumbs.
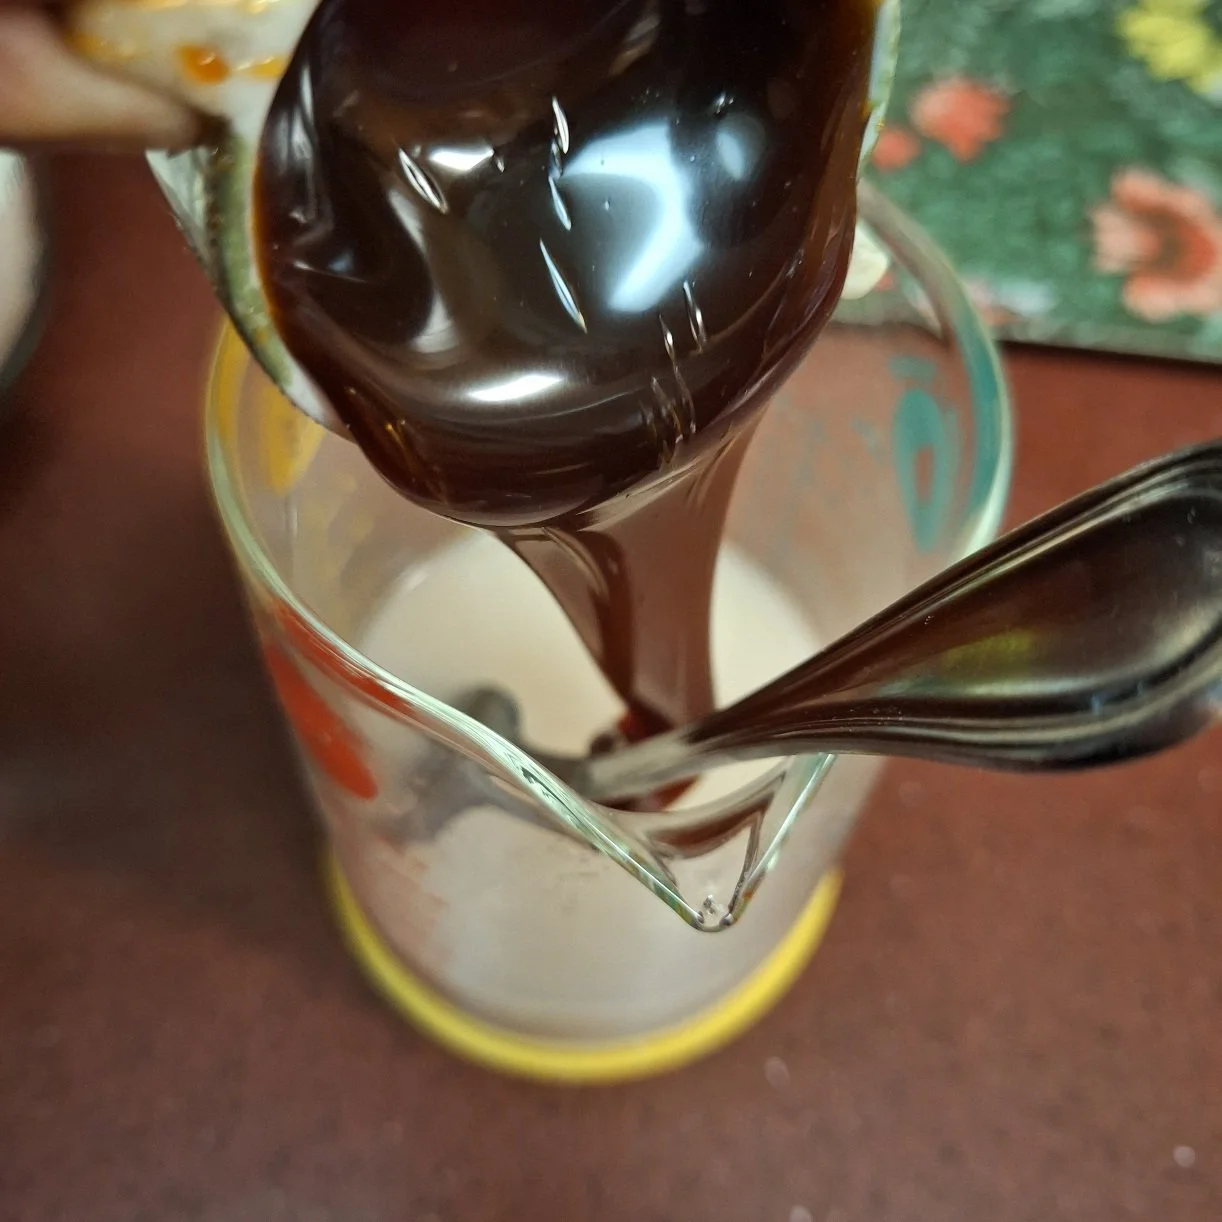
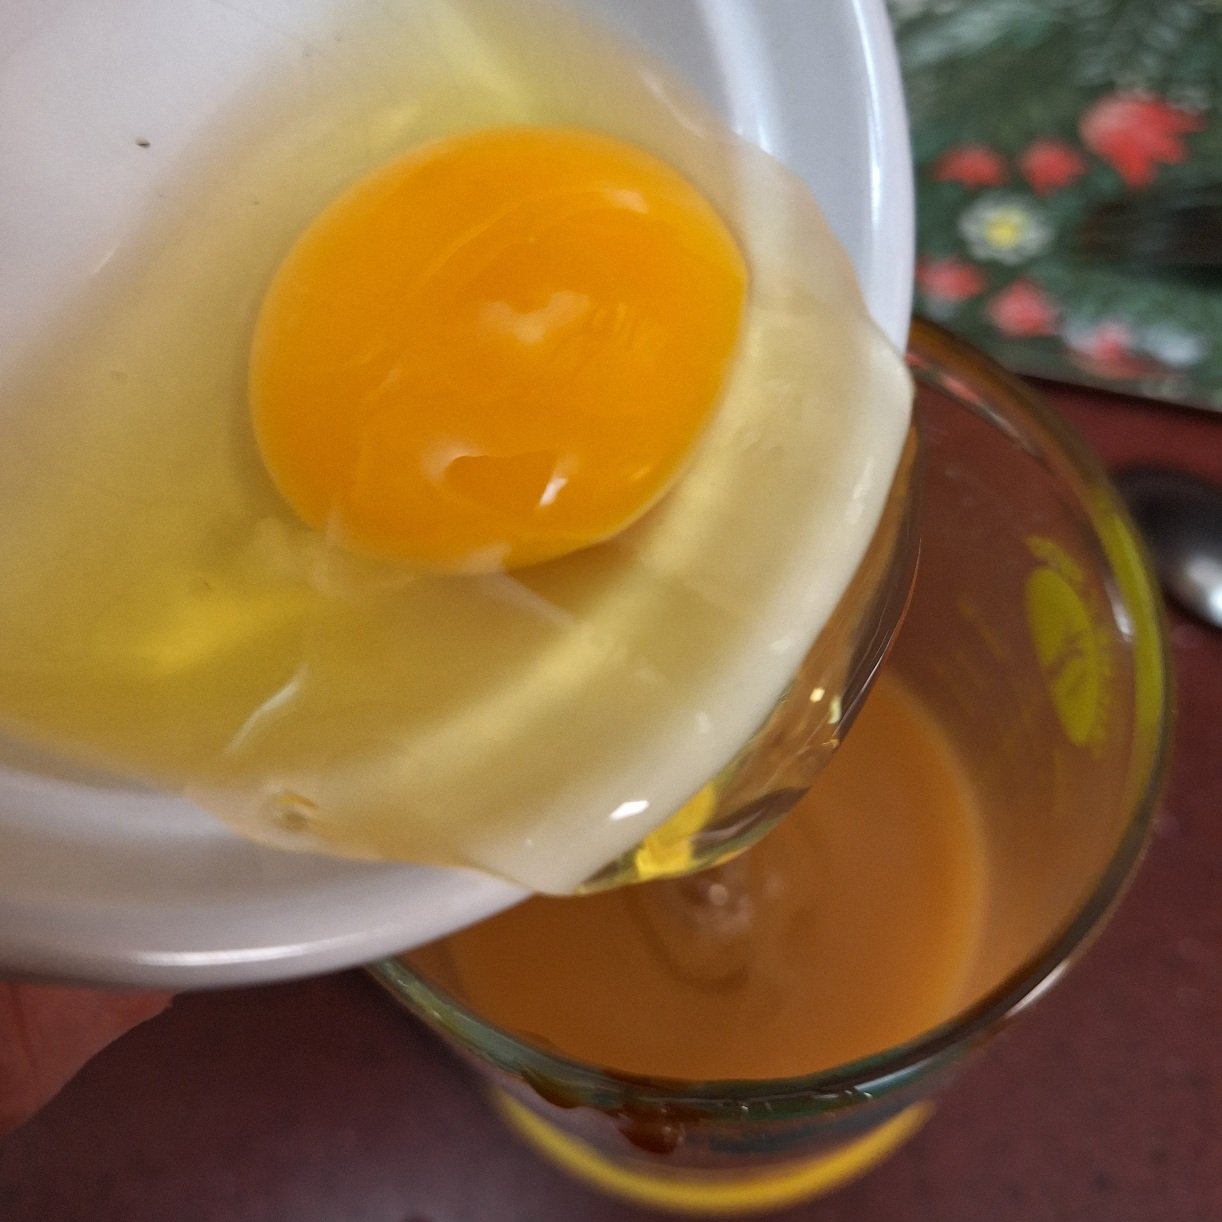
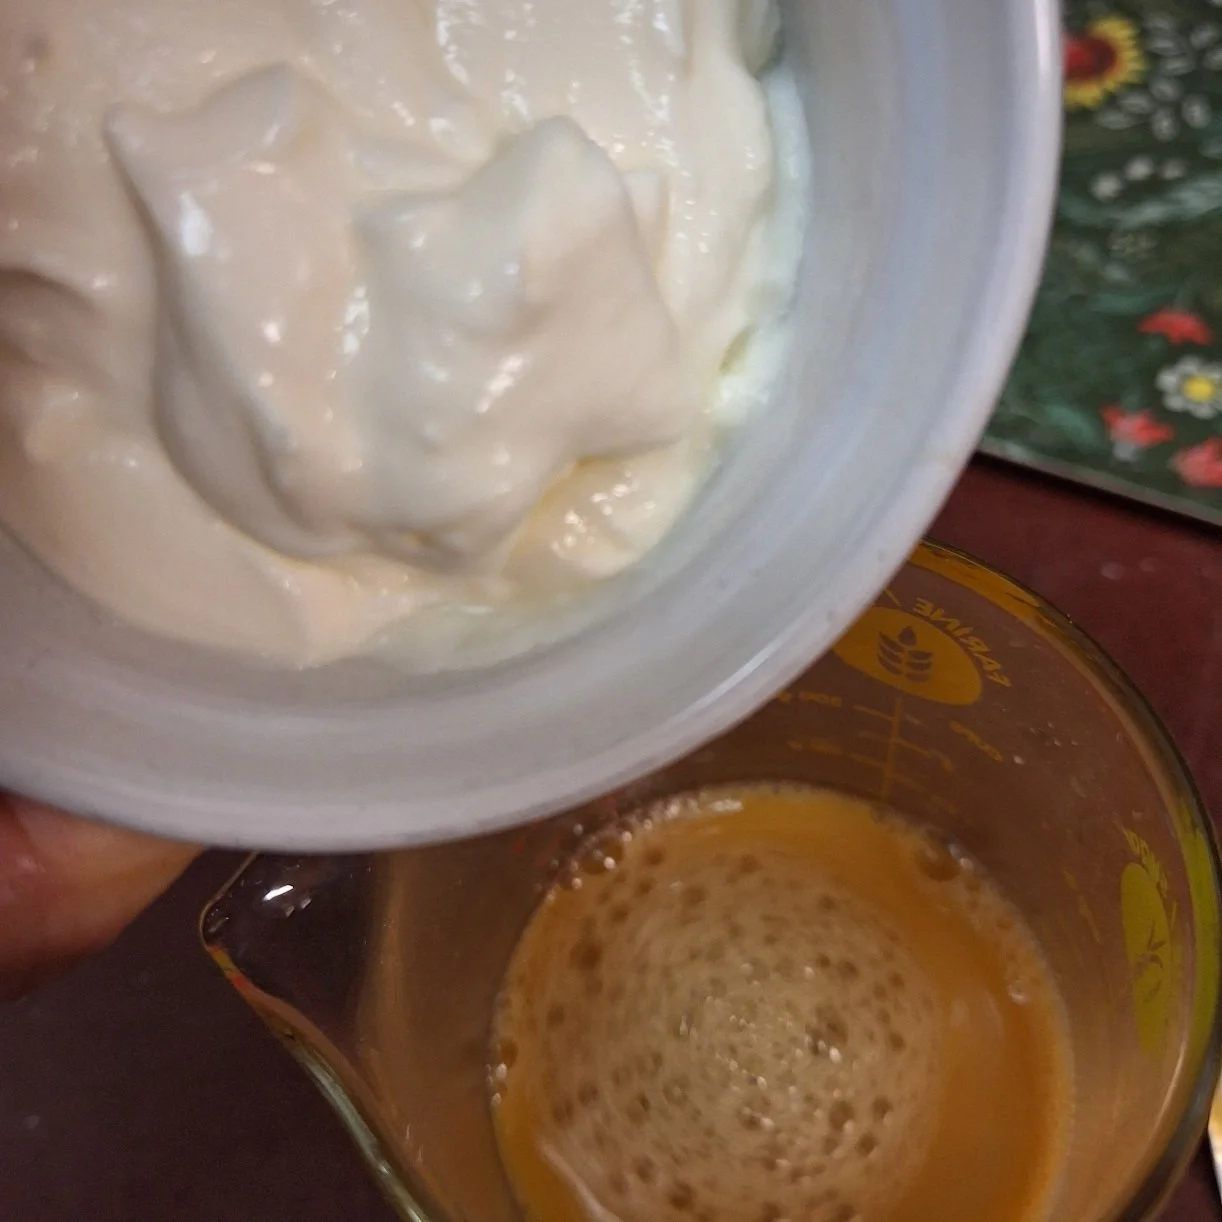
In the large glass container, dissolve the yeast in the lukewarm water and let it rest for about 10 minutes. Add the quark cheese, the beaten egg and the malt syrup. Stir everything together thoroughly until well combined.
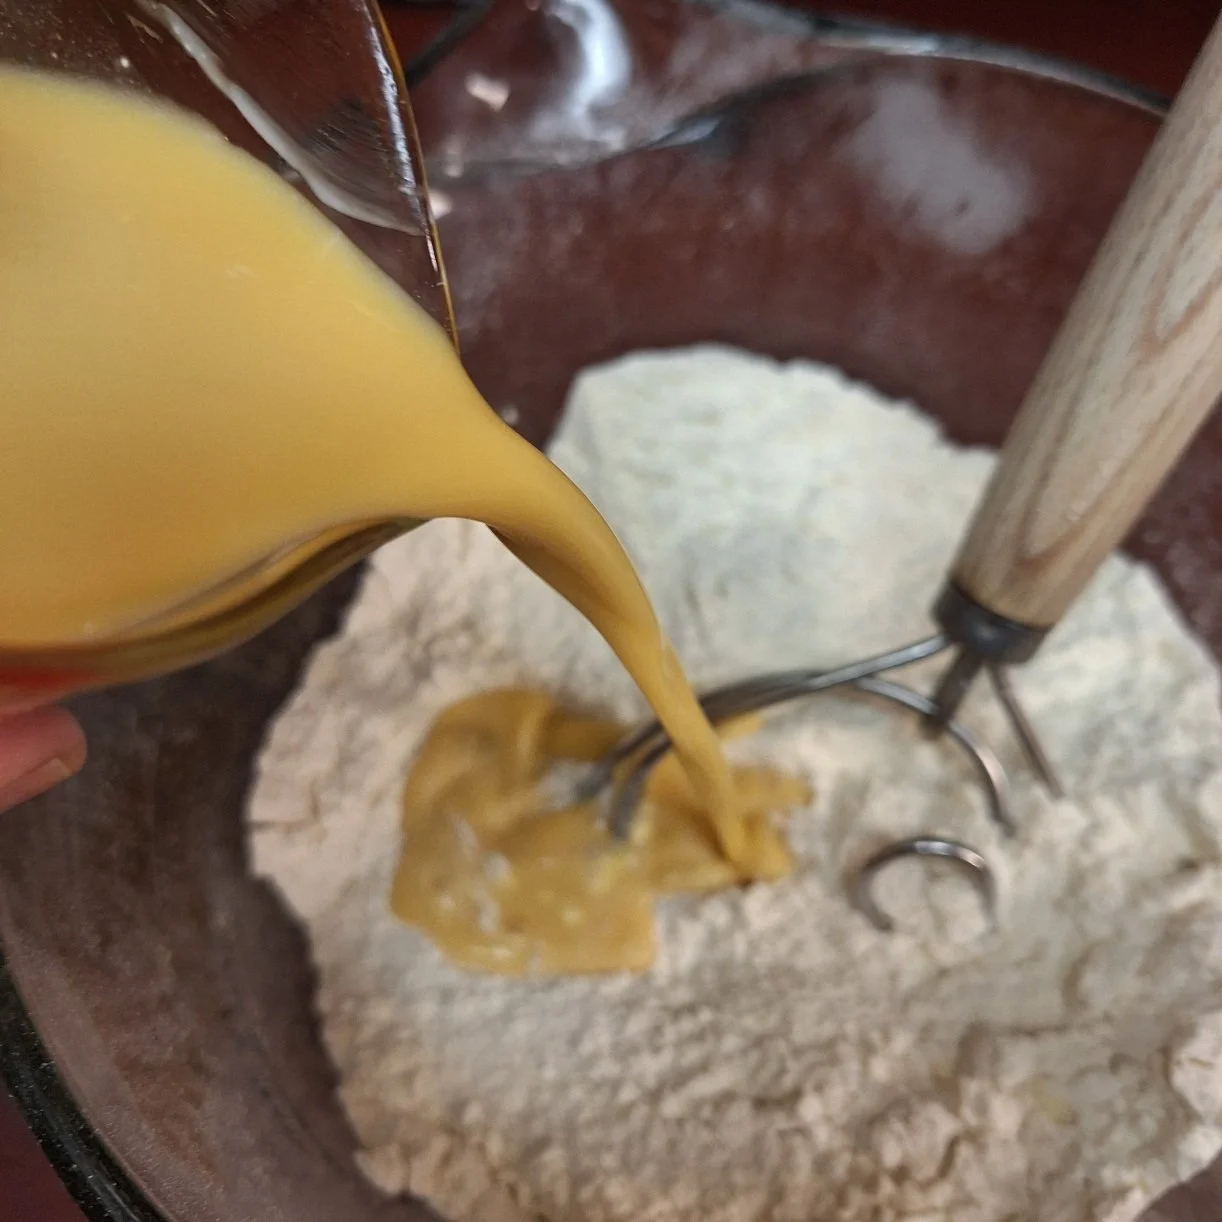
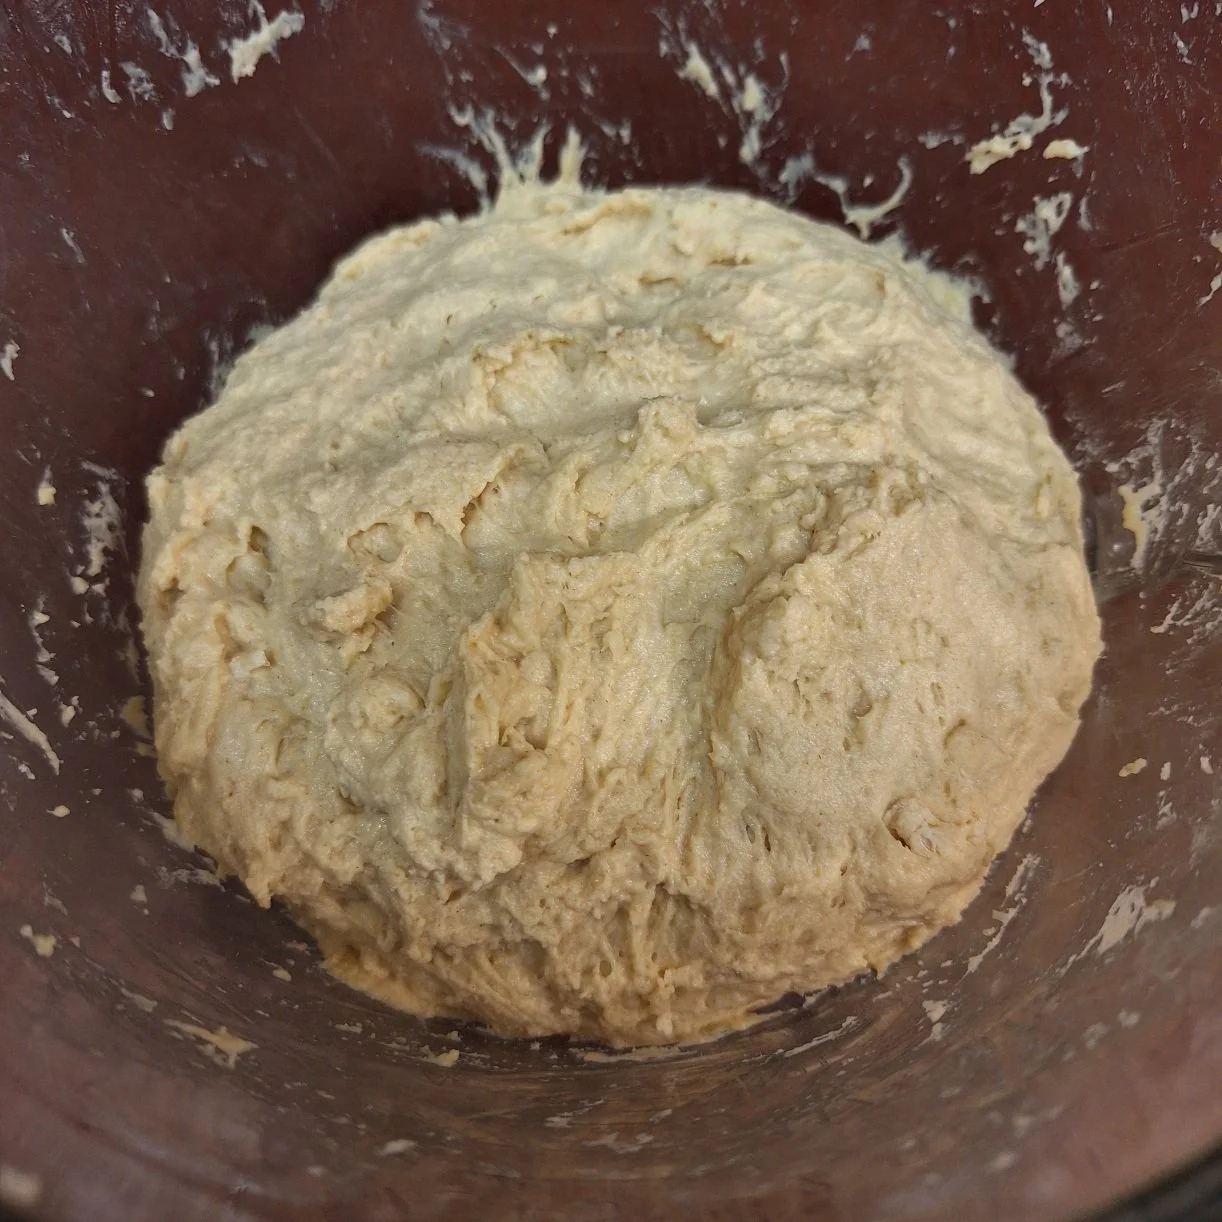
Add the yeast mixture to flour and mix together with a Danish whisk or wooden spoon until it forms a shaggy dough. Cover it with linen towel and let it rest for 30 minutes.
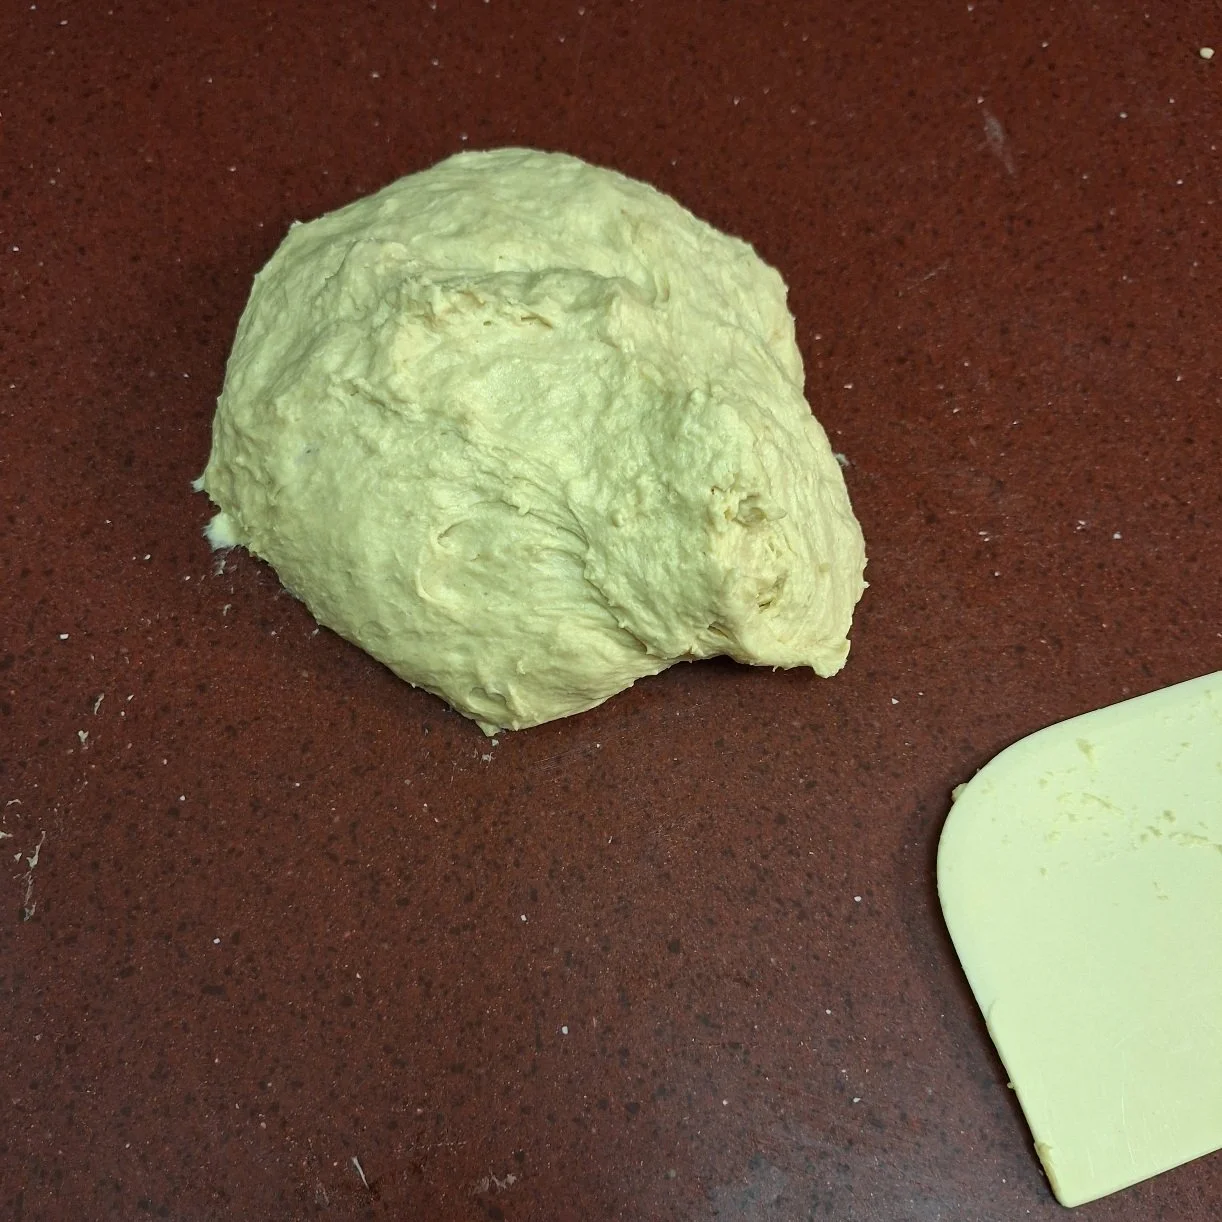
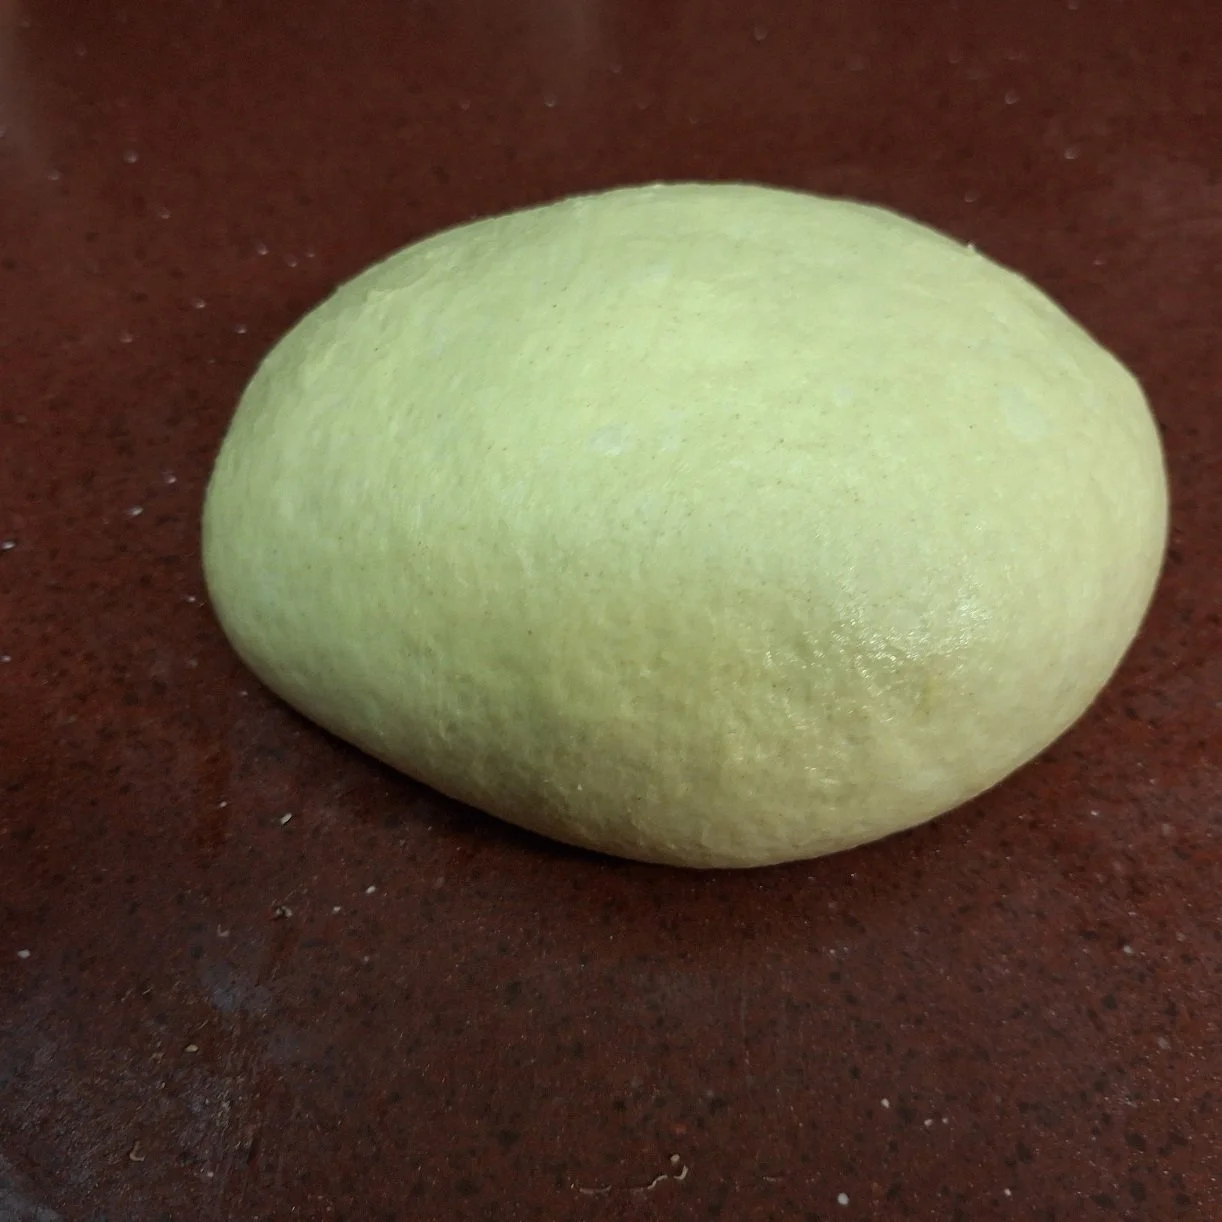
Transfer the dough to a clean work surface and knead it for about 10 minutes, or until it becomes elastic and smooth. Place the dough into a lightly greased bowl, cover it with a linen towel or a fitted lid, and allow it to rest for 1 hour.
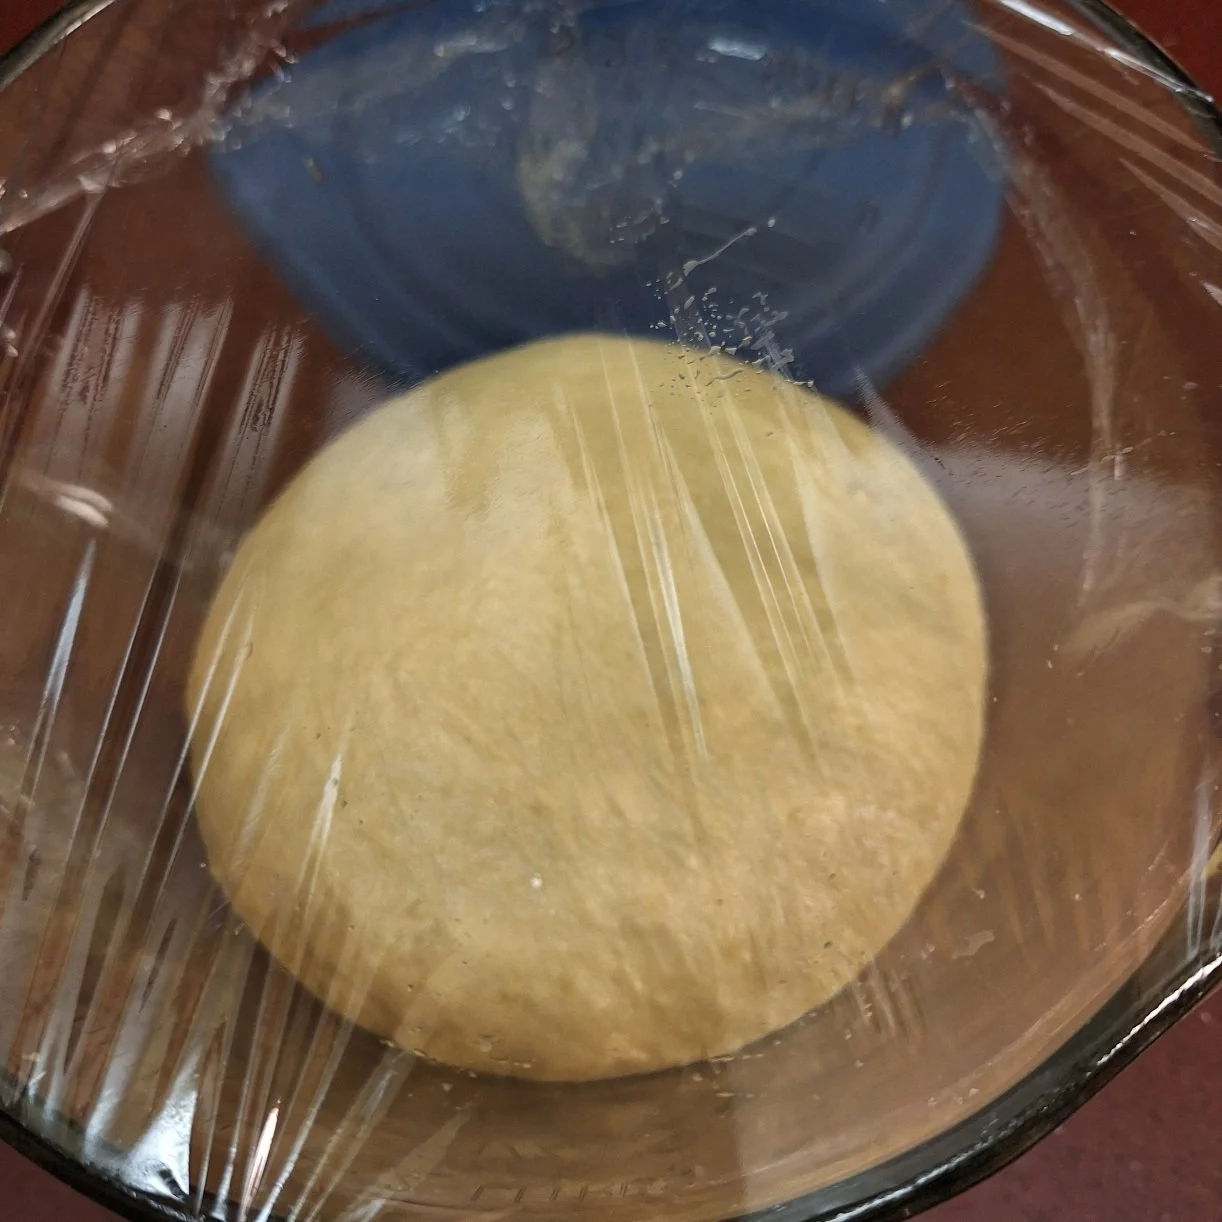
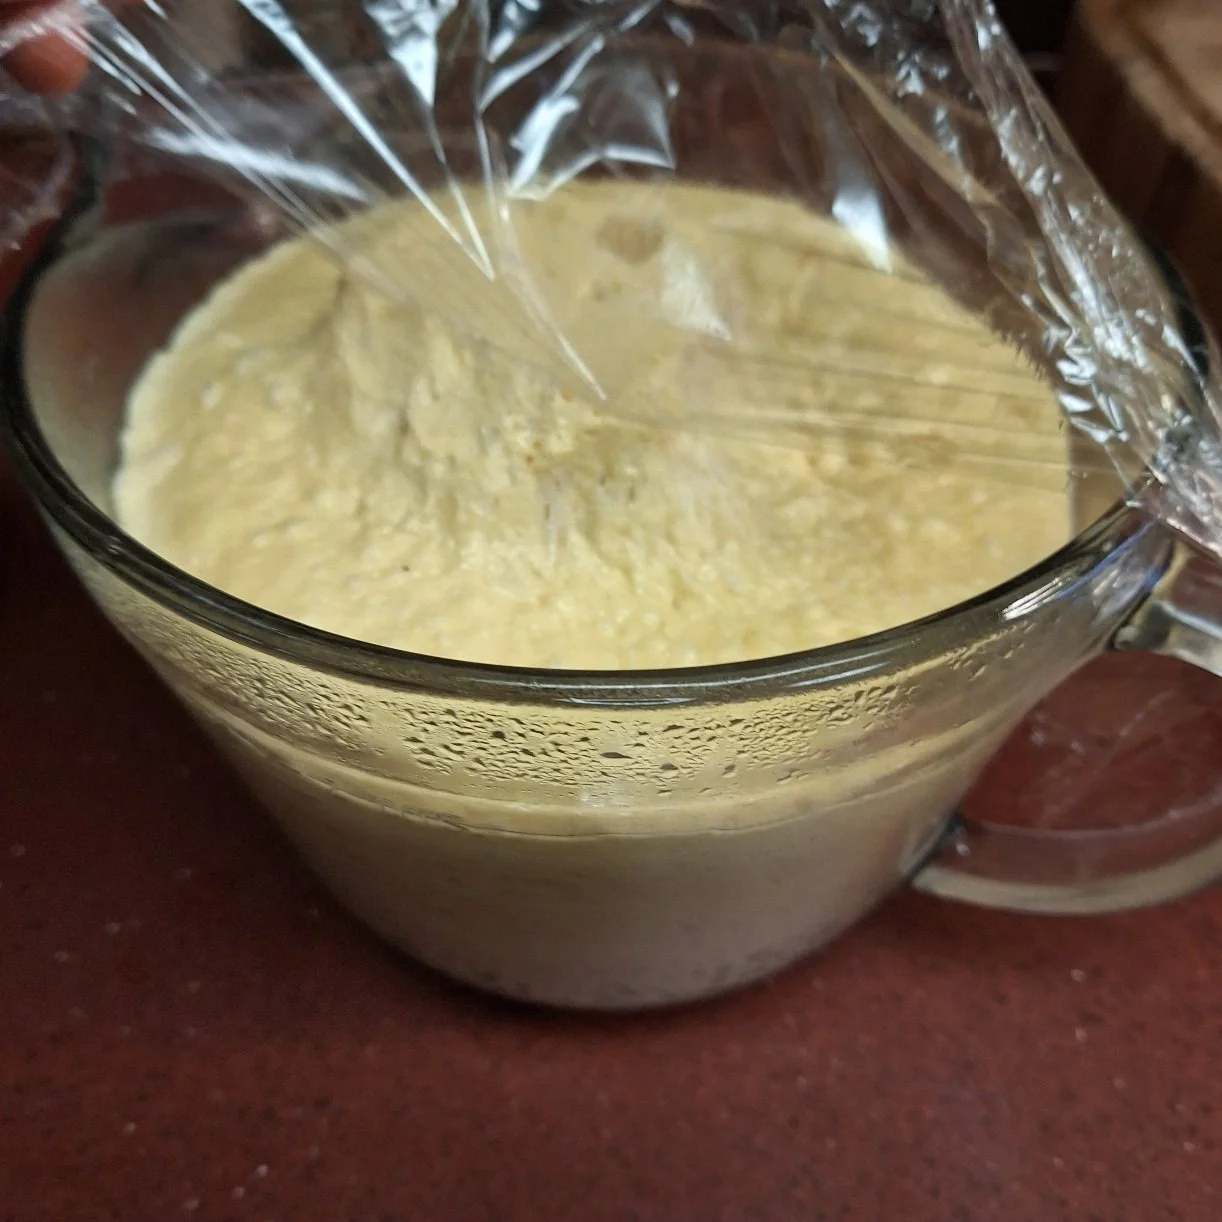
Turn the dough out onto a lightly floured work surface and gently punch it down to release any trapped air bubbles. Bring the dough together, kneading it briefly into a smooth, round ball, then transfer it into a lightly greased, large glass bowl. Ensure the bowl is roomy enough to allow the dough to expand up to three times its size. Cover the bowl tightly with saran wrap and place it in the refrigerator to undergo a slow, steady fermentation for 12-14 hours.
Grease the Pullman pan and lid thoroughly with softened unsalted butter, coating all corners, seams and the lid’s rubbing surface. Use a pastry brush or parchment to reach tight angles and add a thin smear along the rim where lid meets pan so the loaf releases cleanly.
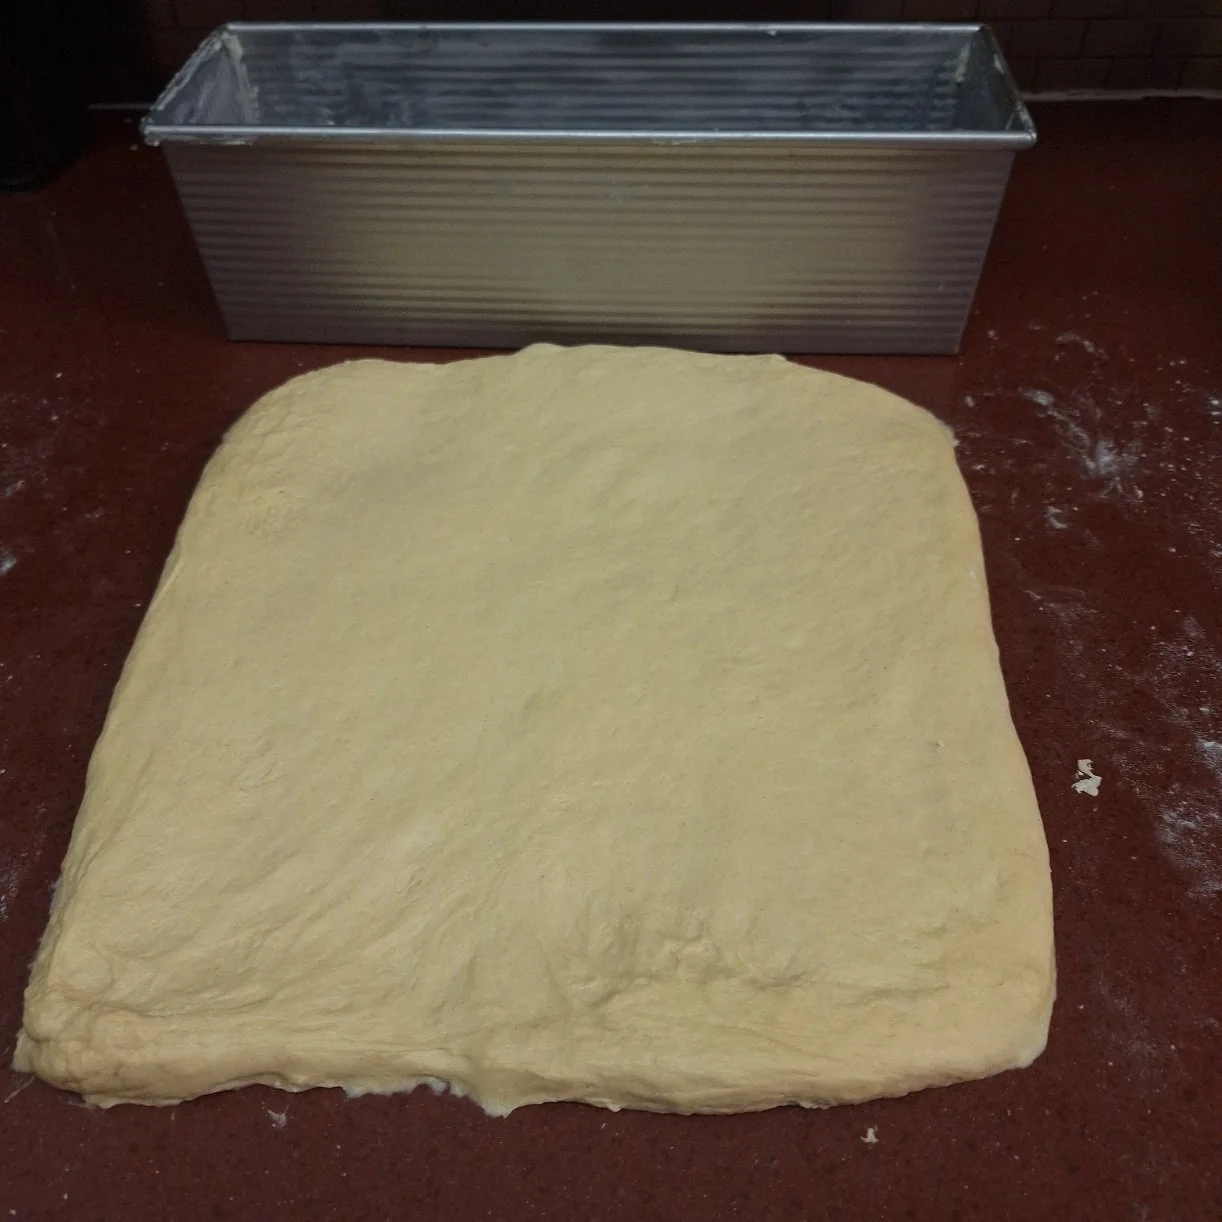
On baking day, remove the dough from the refrigerator, turn the dough out onto a lightly floured surface and pat it into a 13” or 33 cm rectangle, using a rolling pin if needed, ensuring the width matches your Pullman pan. Remember to gently press down to remove large air bubbles, which ensures the dense, fine crumb characteristic of a Pullman loaf.
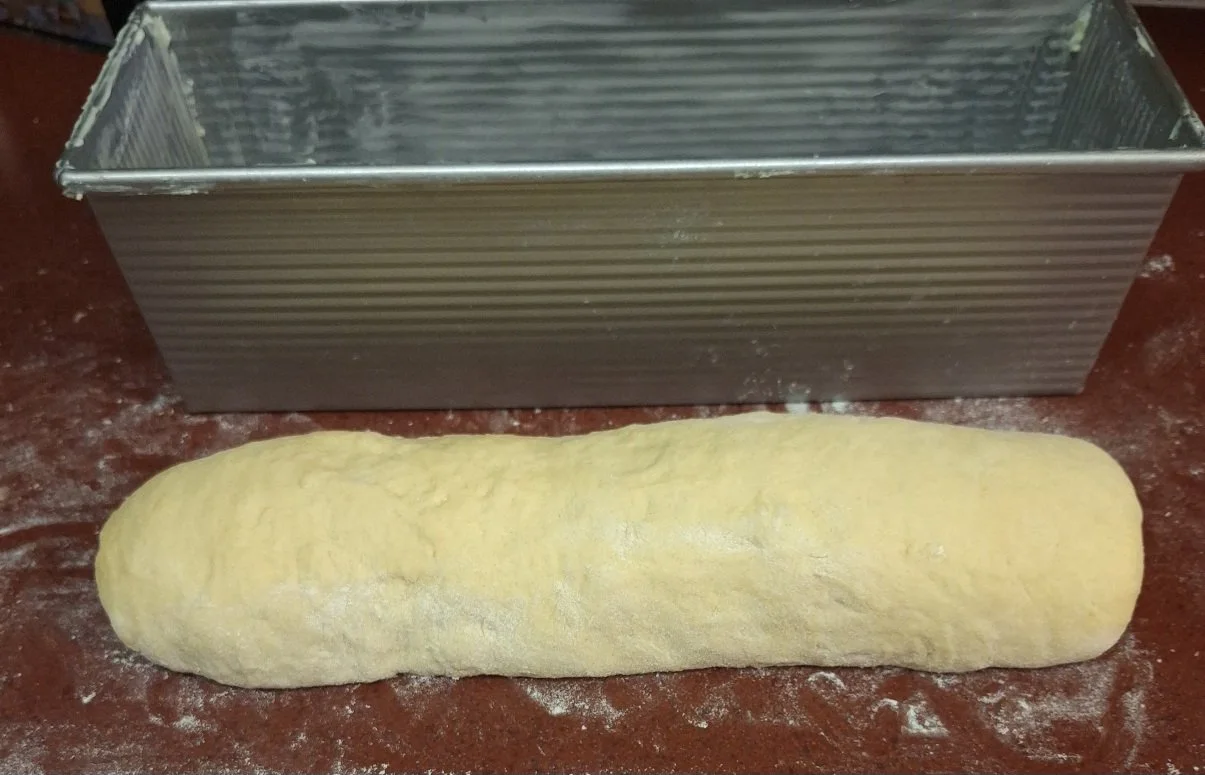
Folding Pullman bread dough is similar technique to a cinnamon roll (often called the jelly roll or log roll method) is a standard way to achieve a tight, even crumb and high surface tension for a square loaf.
Starting from the shorter end, roll the dough firmly toward you like a jelly roll. Gently use your thumbs or index fingers to "tuck" and push the dough back as you roll, maintaining even pressure to create a taut surface tension on the outer layer.
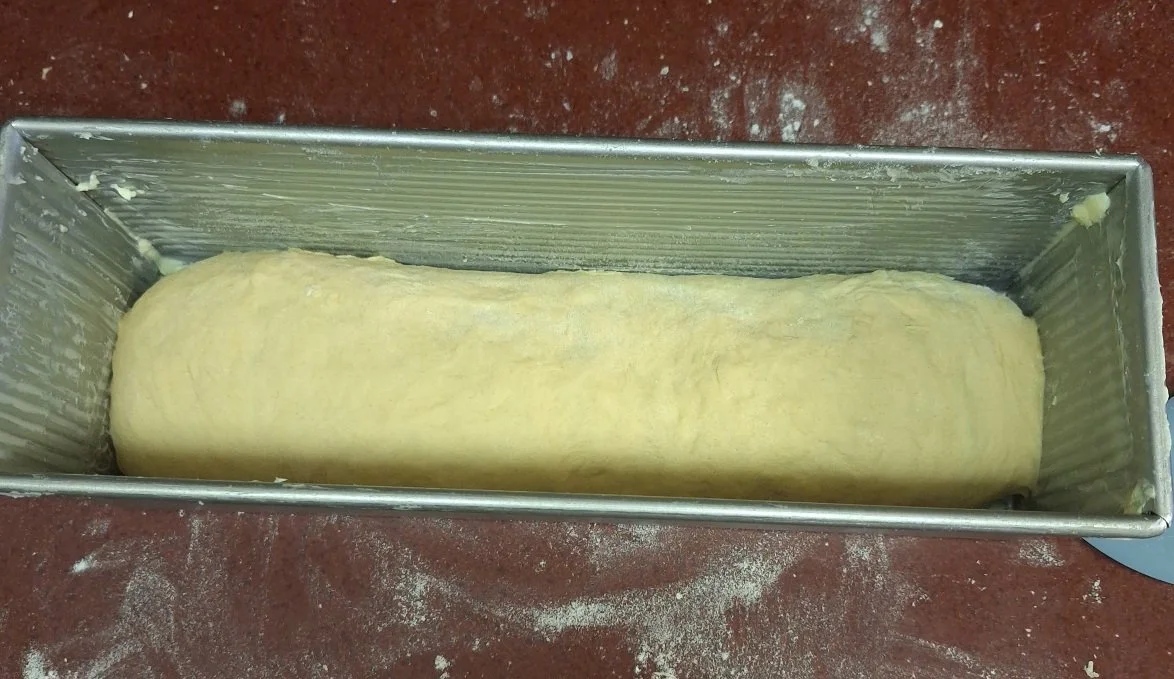
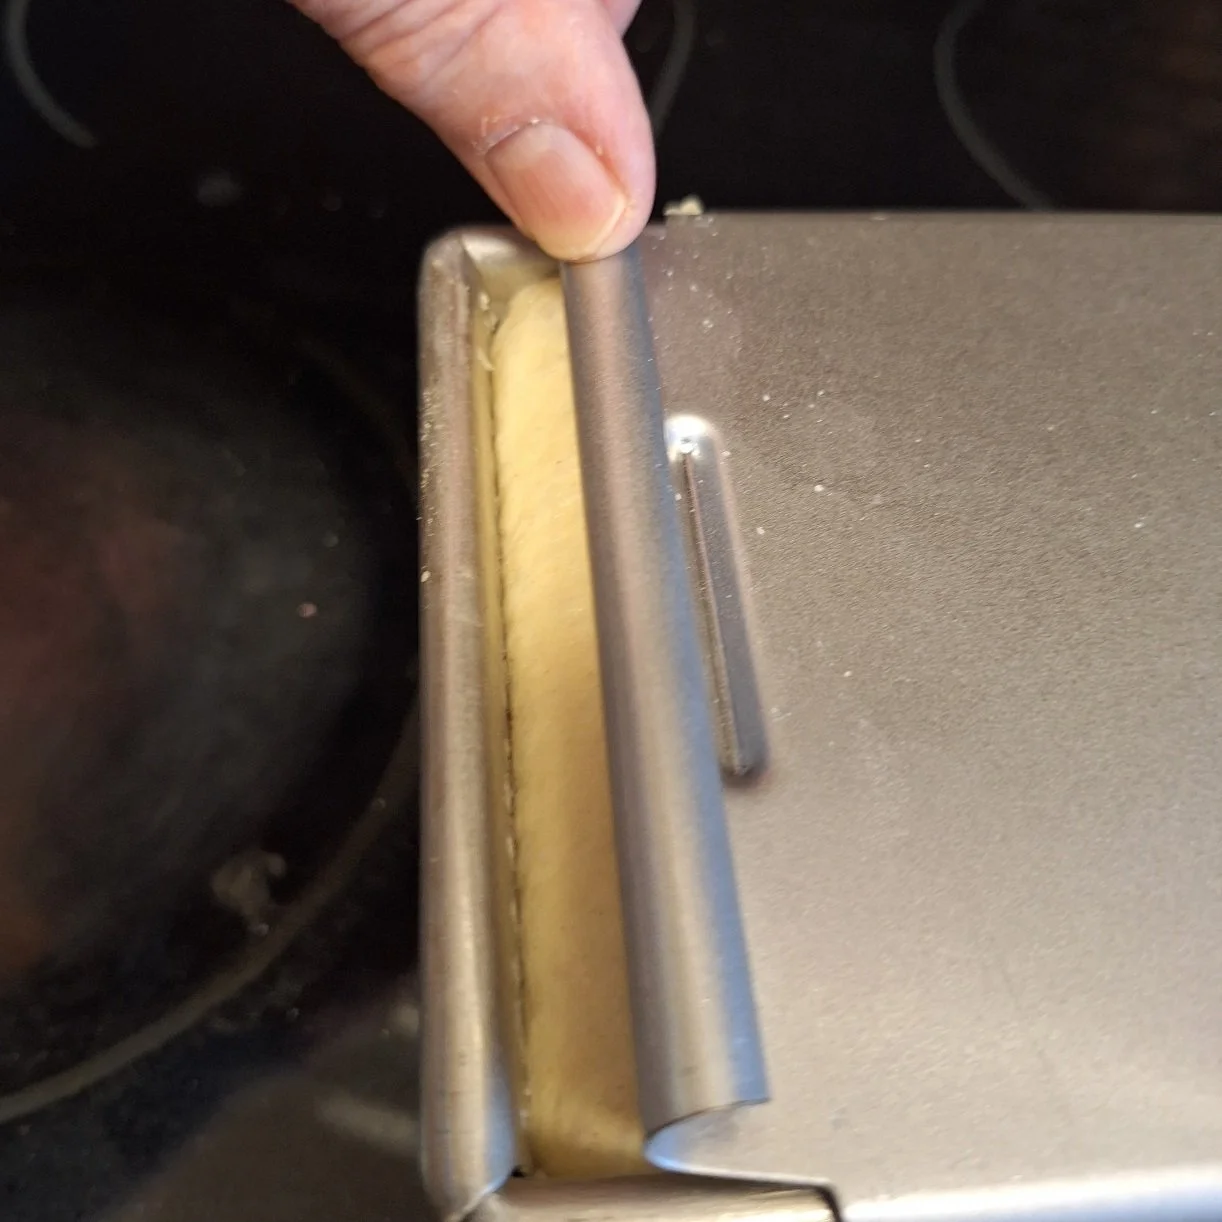
Place the shaped log into your greased pan with the seam side down. Slide the greased lid over the pan, leaving a few inches ajar so that you can check the progress of the rising dough( be sure to insert the lid starting with the curved end farthest from you down, so that when you slide the lid open, it does not scrape across the bread!) Cover the exposed area of the pan with saran wrap. I also like to cover the outside pan with a linen towel.
Let the bread proof until the dough has nearly reached the top of the loaf pan. Since the dough has been in the fridge overnight, it might take 2 hours or a bit more.
Meanwhile, preheat the oven to 390°F (200°C).
When the bread is ready for baking, close the lid on the Pullman pan and gently place the pan on the lowest shelf in the oven. Bake for 30 minutes.
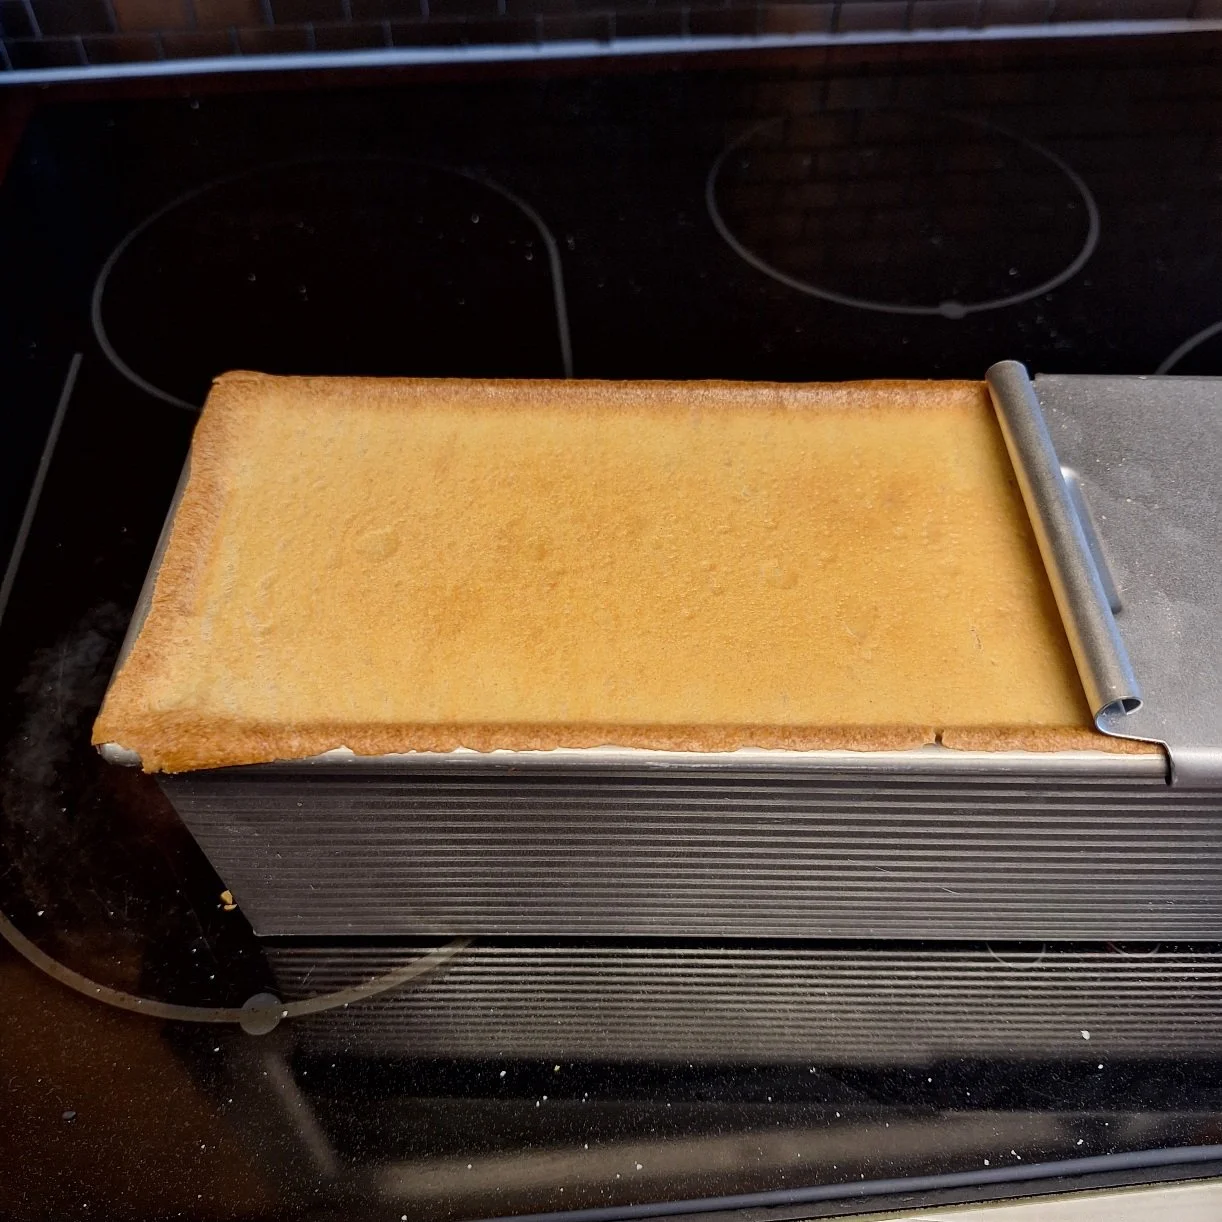
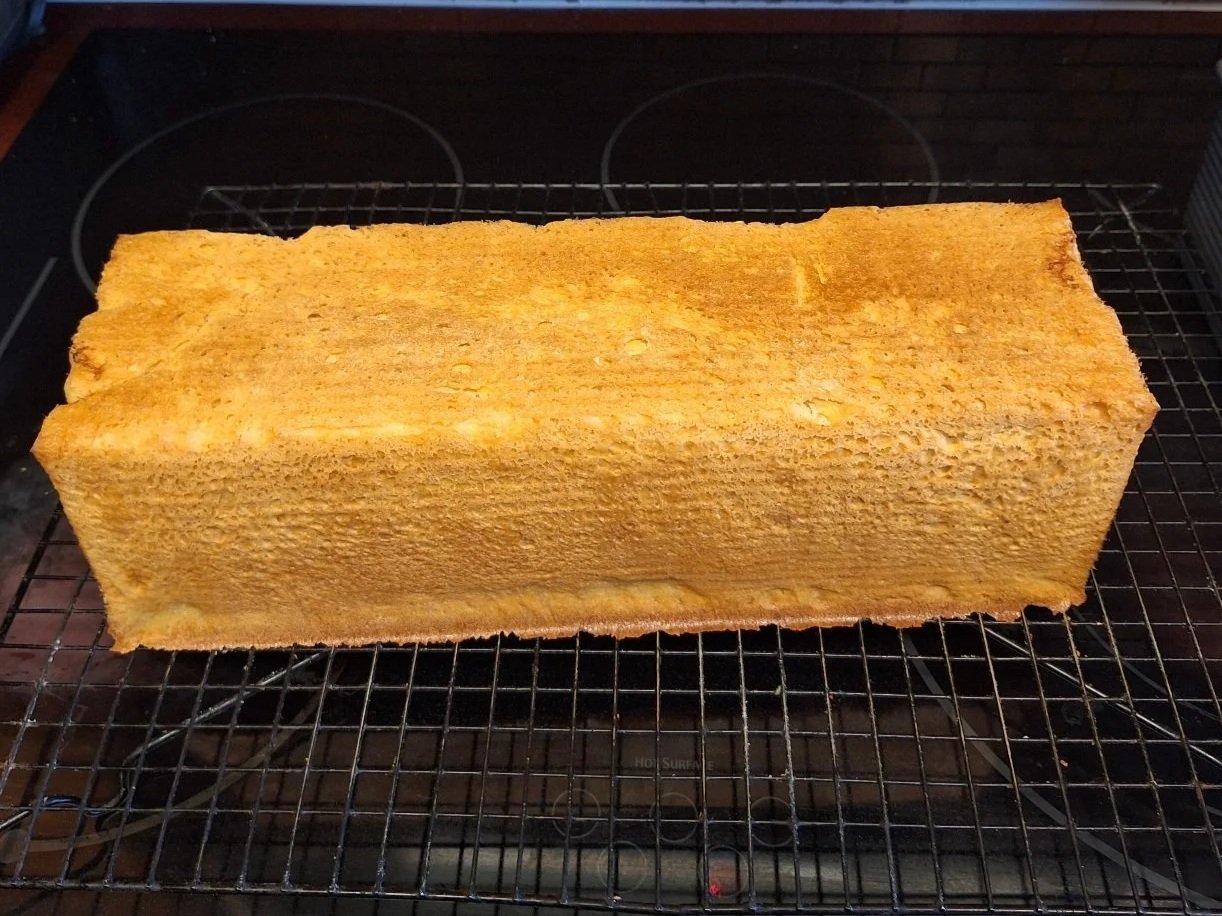
After 30 minutes, carefully remove the lid, turn the pan around, for even baking, and continue baking for another 10 minutes or until the top is rich golden brown. If you still wish to brown the sides of bread to achieve a crispy crust, take the bread out of the pan and place it directly on the oven shelf for another 5 minutes.
Put loaf on a wire rack and let it completely cool. Enjoy it!